Effortless Waves Just Got a Whole Lot Easier with the New Double Waver
Have You Heard? There’s a New Girl in Town… and She’s Double the Fun!
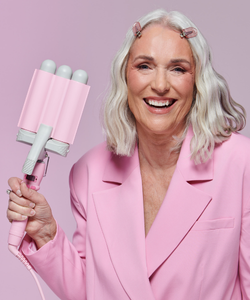
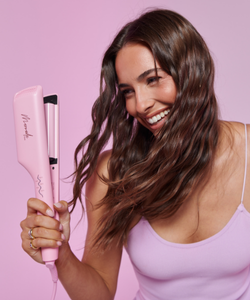
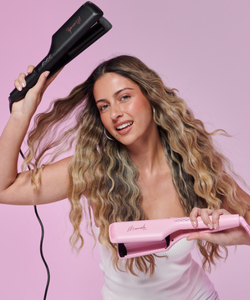
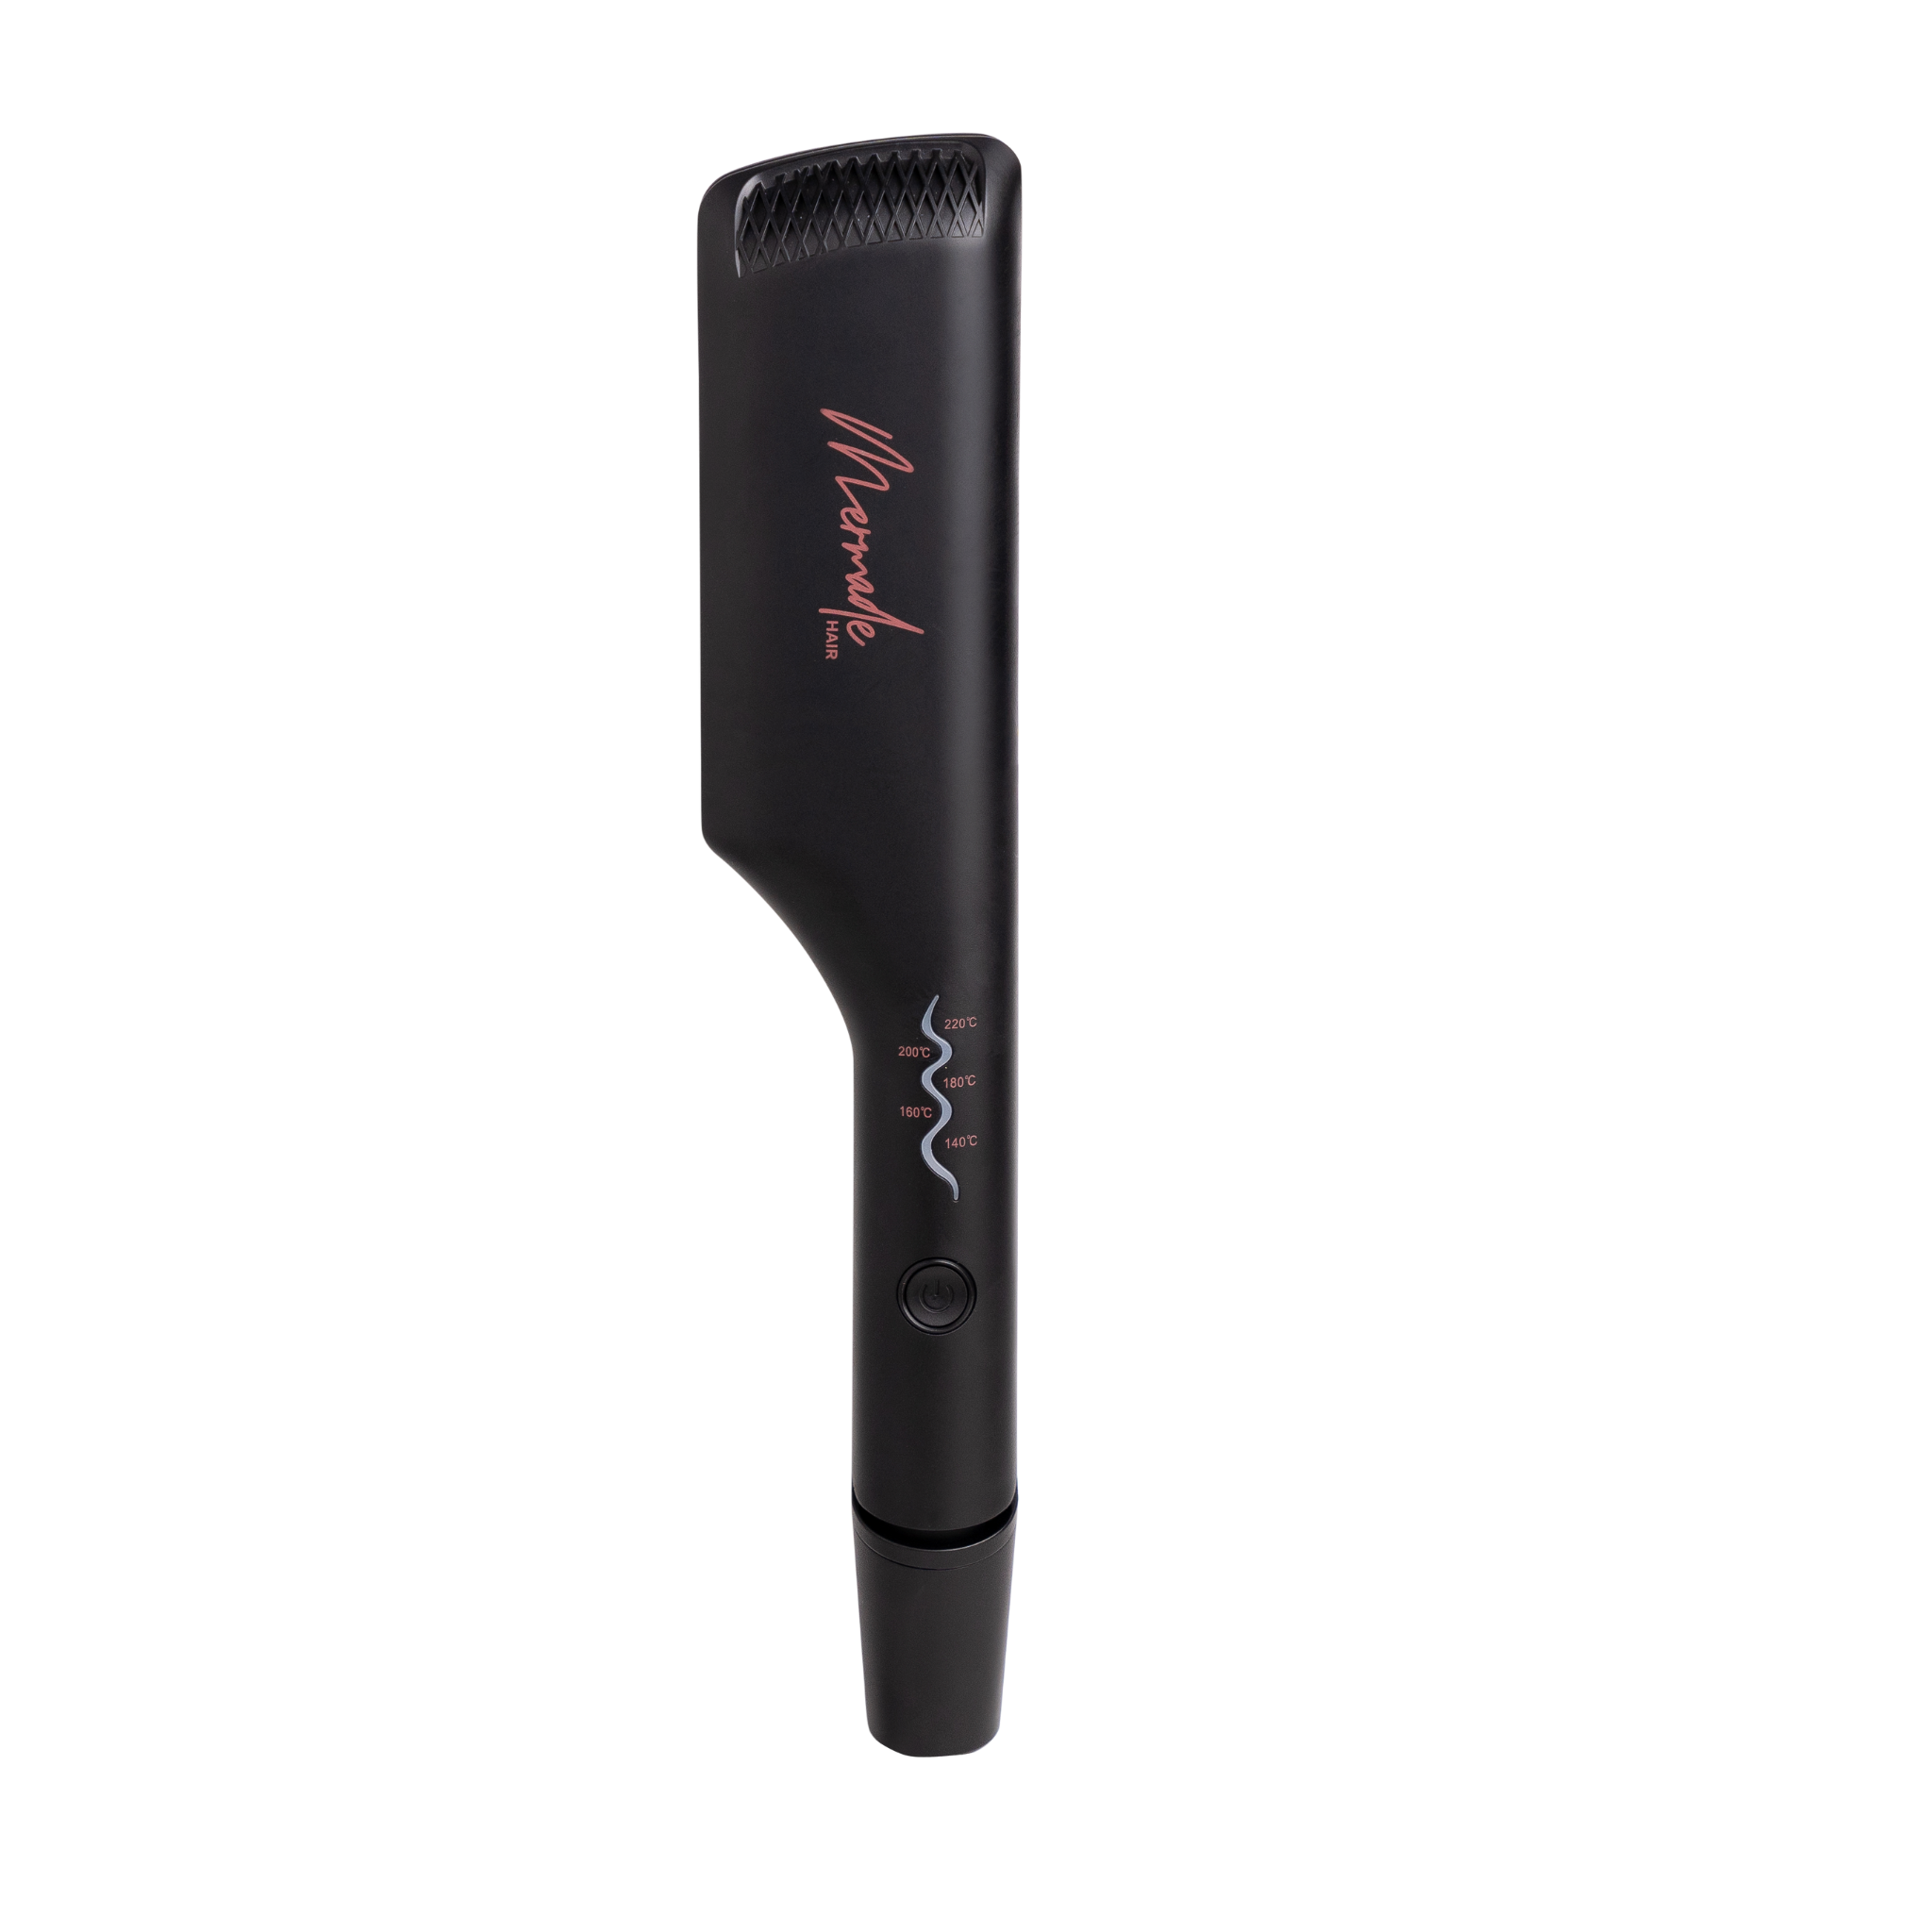
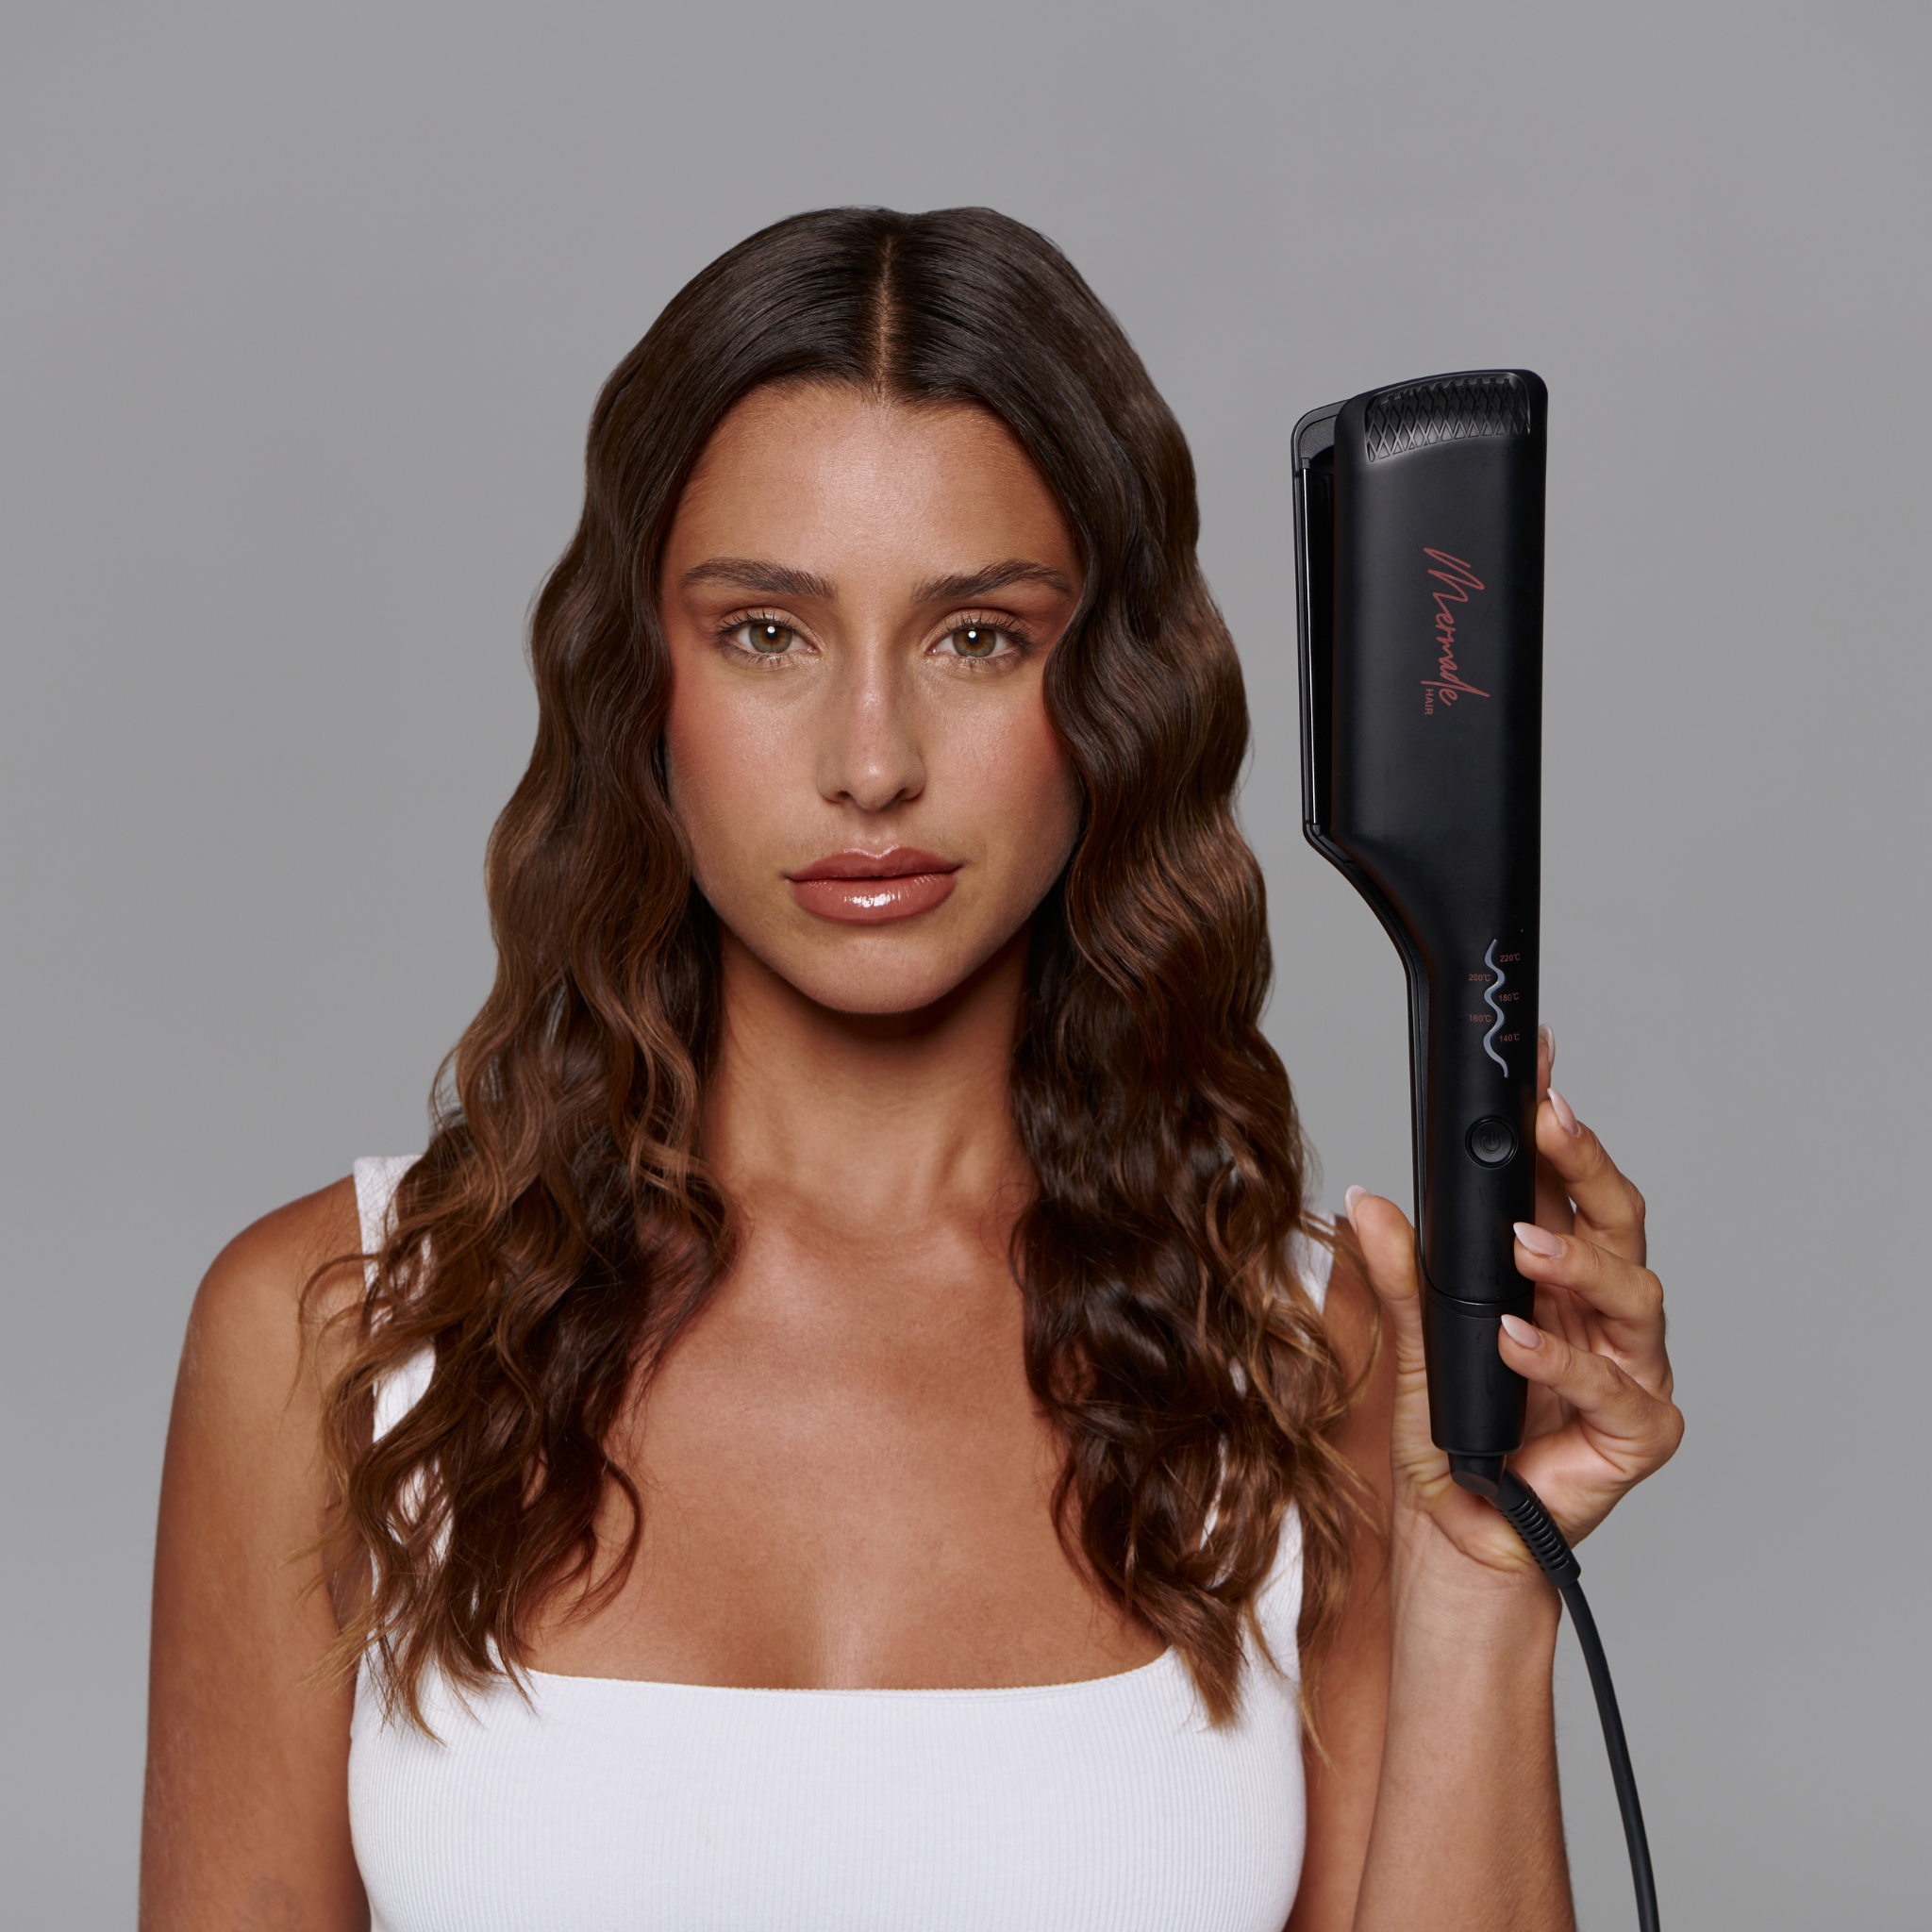
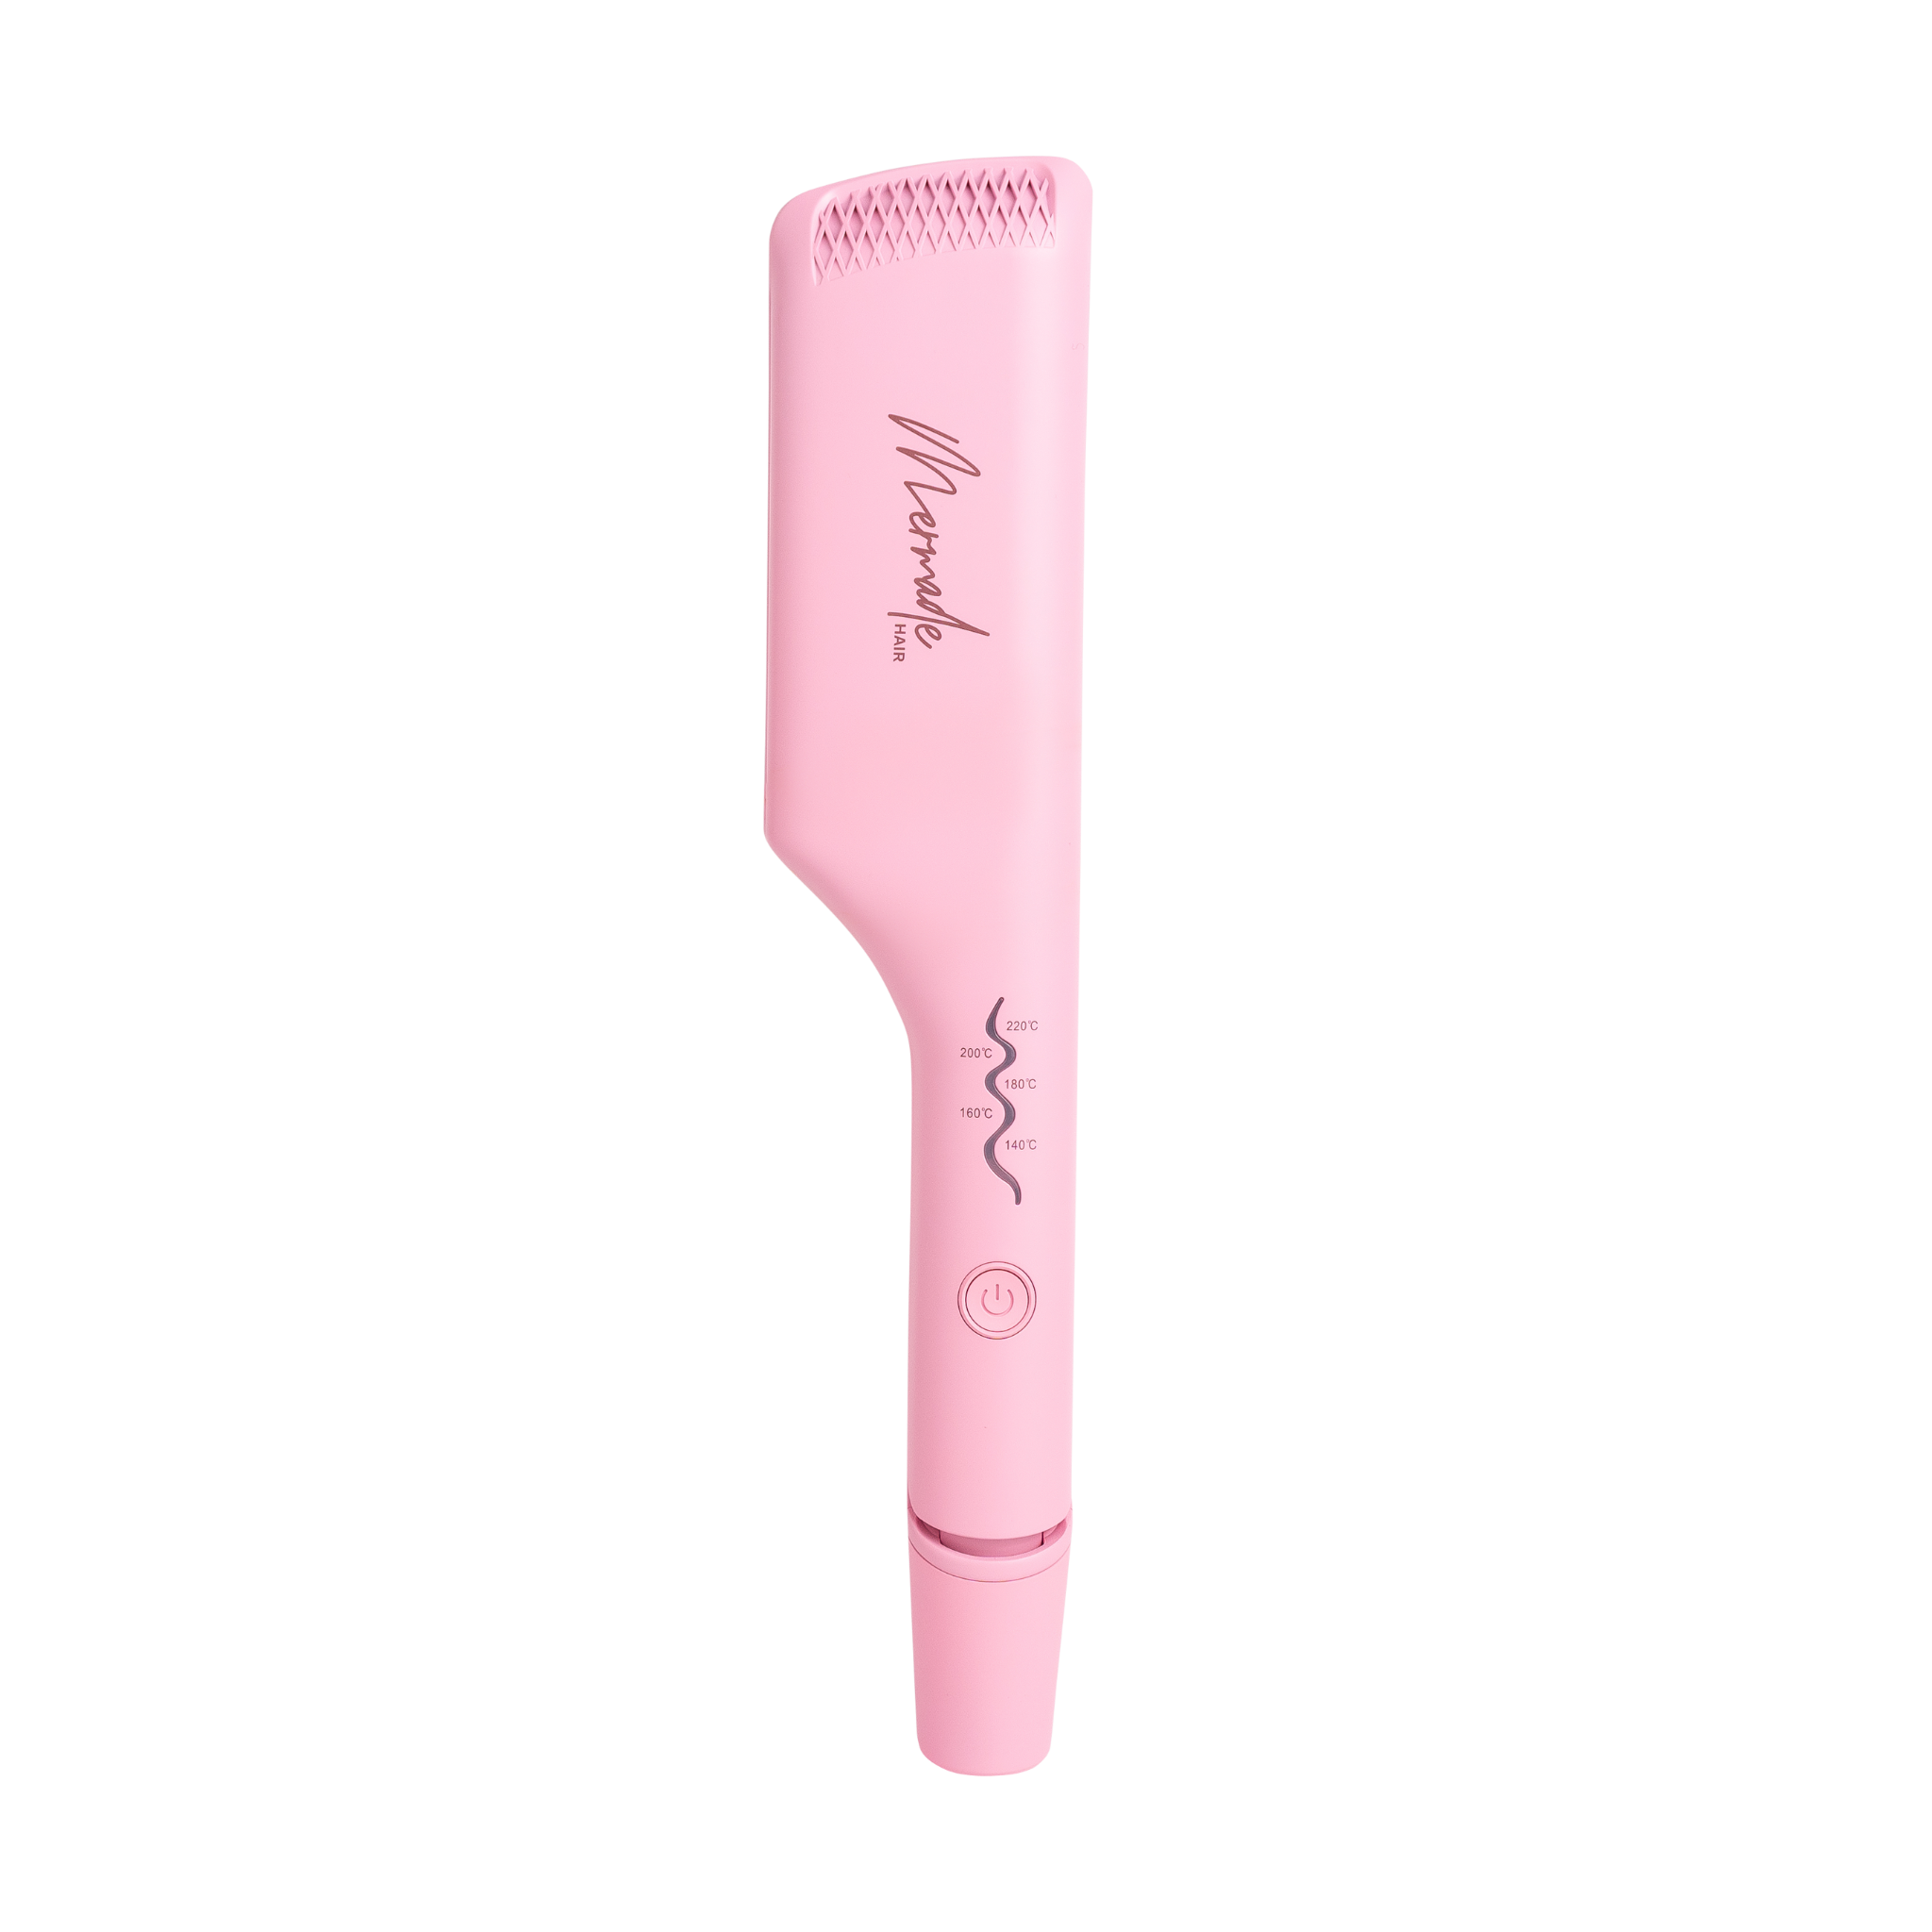
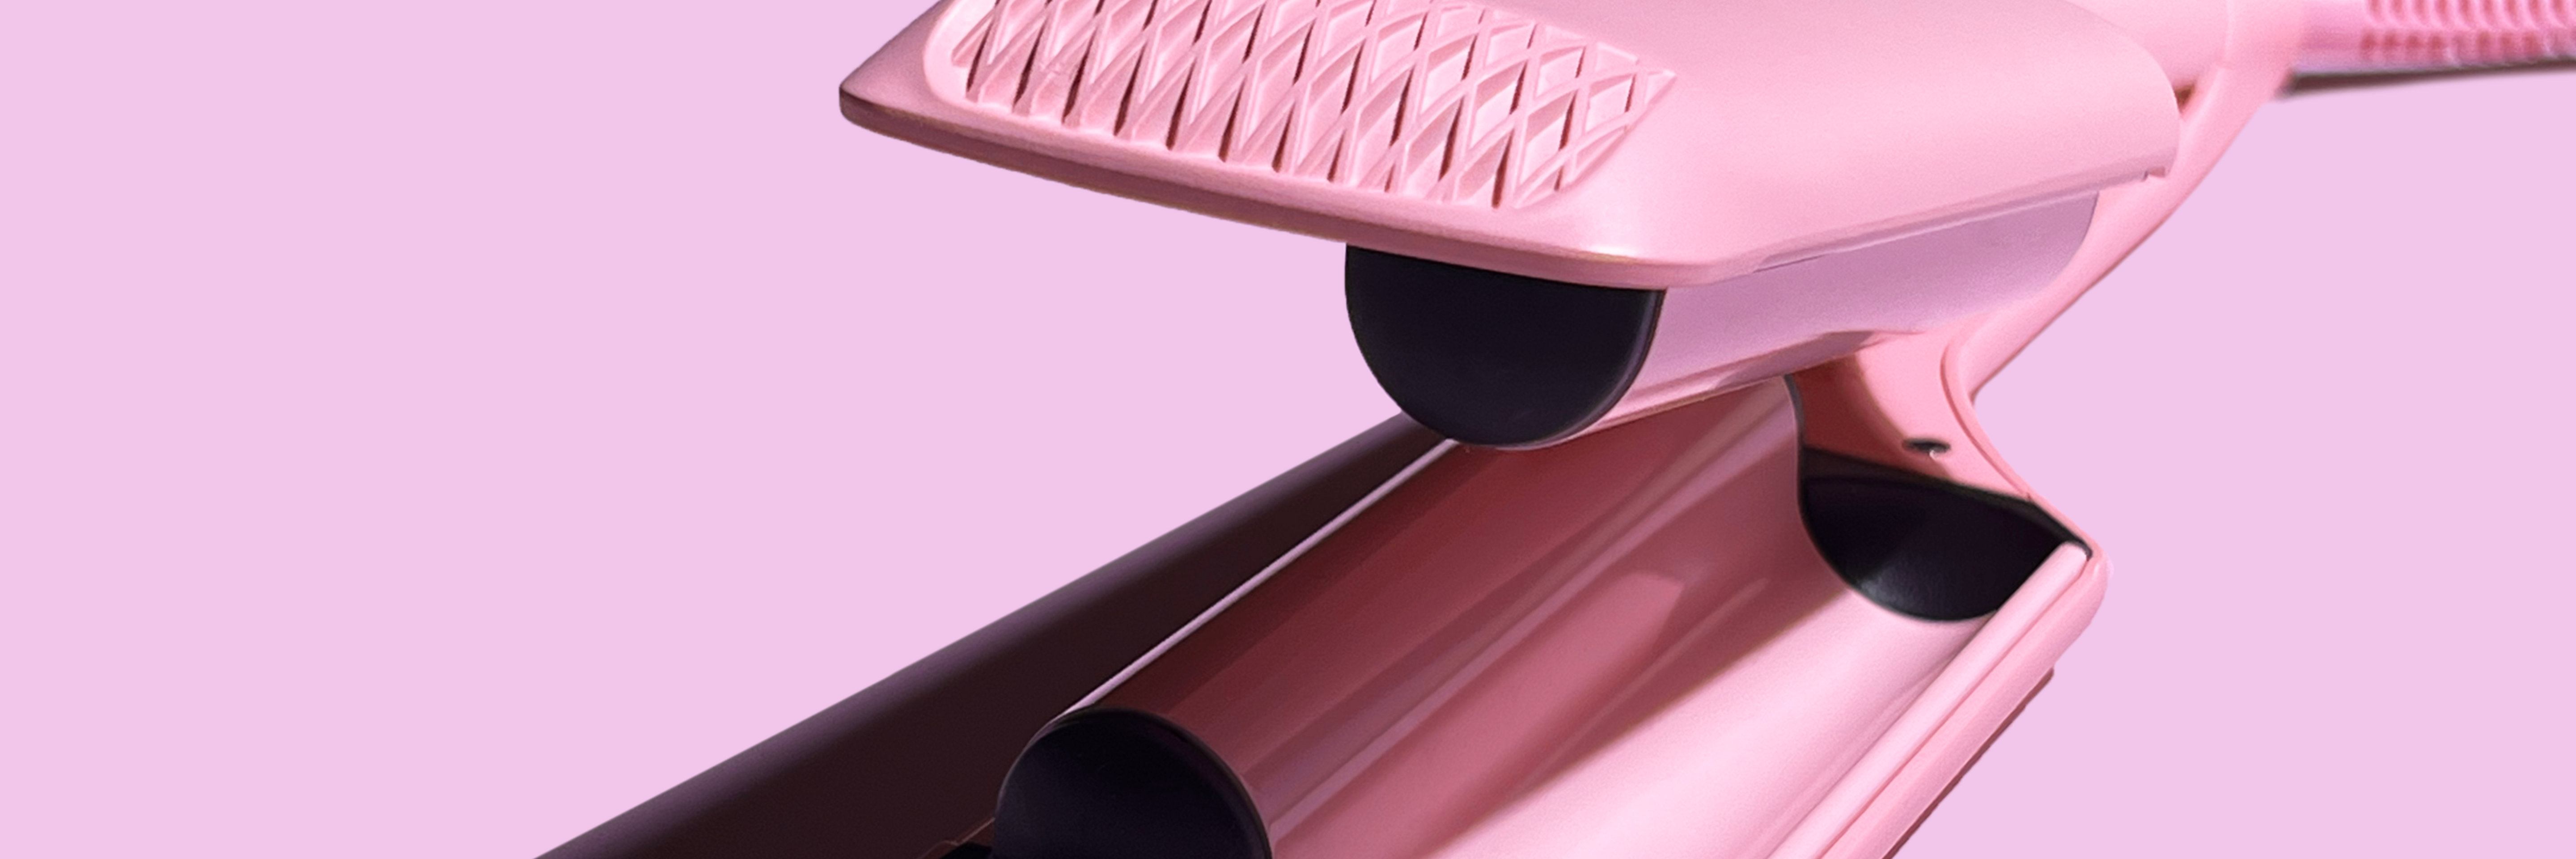
The new Double Waver is compact, lightweight, efficient, and the perfect tool for effortless waves on the go.

…Okay, but How Is It Different from Our Other Wavers?
Our new Double Waver will give you the same dreamy waves as our 1" Mermade Mini Waver, but with a few unique features that set it apart.
- The Double Waver has two 1" barrels instead of three, like the Mermade Mini Waver. This makes it more compact and lightweight, perfect for travel and styling on the go.
- It creates softer, looser wave patterns, giving that effortless, ‘undone’ look.
- The Double Waver features an anti-scald design, where the hot plates are protected by an outer casing. This means less heat on the outside of the tool, reducing the chance of accidental burns.
- Since the Double Waver is smaller and more compact, it’s ideal for shorter hair. The sleek design makes it easier to get closer to the root, creating waves from top to bottom.

How to Get Dreamy Mini Waves with the Double Waver
Step 1: Prep Your Hair
Start with clean, dry hair that’s free of tangles. Then, plug in your Double Waver and adjust the heat to suit your hair type. For healthier styling, we recommend using a 360°F heat setting.

Step 2: Protect & Prime
Before styling, spray your hair liberally with Mermade Mist. This thermal shield protects your hair from heat damage while adding moisture, reducing frizz, and helping your waves last longer.

Step 3: Section & Style
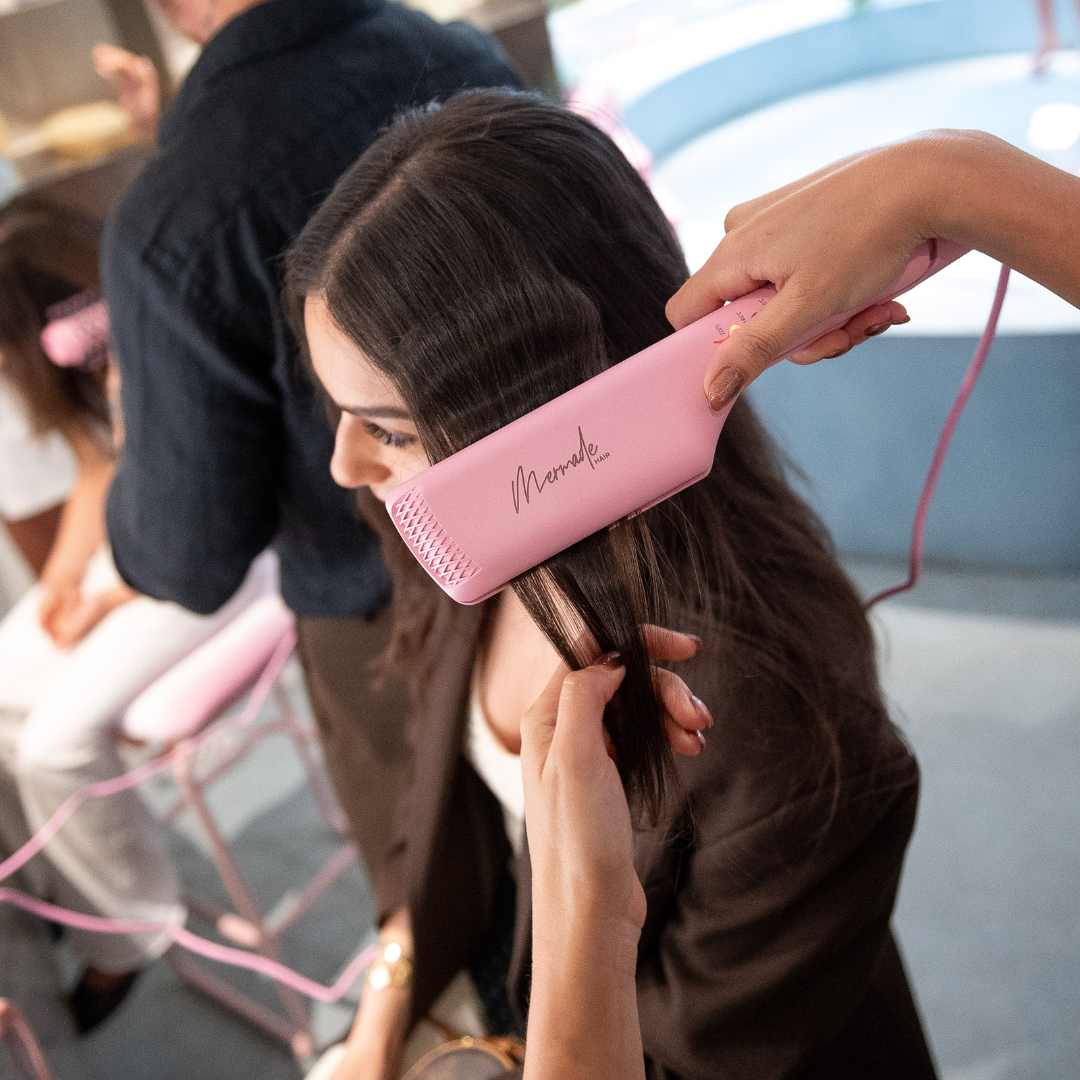
Start by dividing your hair into small sections—smaller sections will create more defined waves, while larger sections will result in a looser, more relaxed style.

Pro Tip: Warming Up Sections to Prevent Heat Lines
Before clamping, gently glide the Double Waver over the section without pressing down to warm up the hair. This helps prevent harsh heat lines and ensures a smooth, even wave pattern.
Clamp the first section at your preferred starting point—either at the root, eye line, or chin line, depending on your desired look. Hold for 2-3 seconds, then release. Move the Double Waver down the section, ensuring the top barrel overlaps the last wave bend for a seamless finish.

Step 4: Bounce & Brush
Repeat the same process for all sections. If you want more defined waves, leave them as they are. For a bouncier, more effortless style, lightly shake out your waves using your fingers or a brush. This technique, also known as bouncing the waver, enhances movement and prevents the waves from looking too structured.
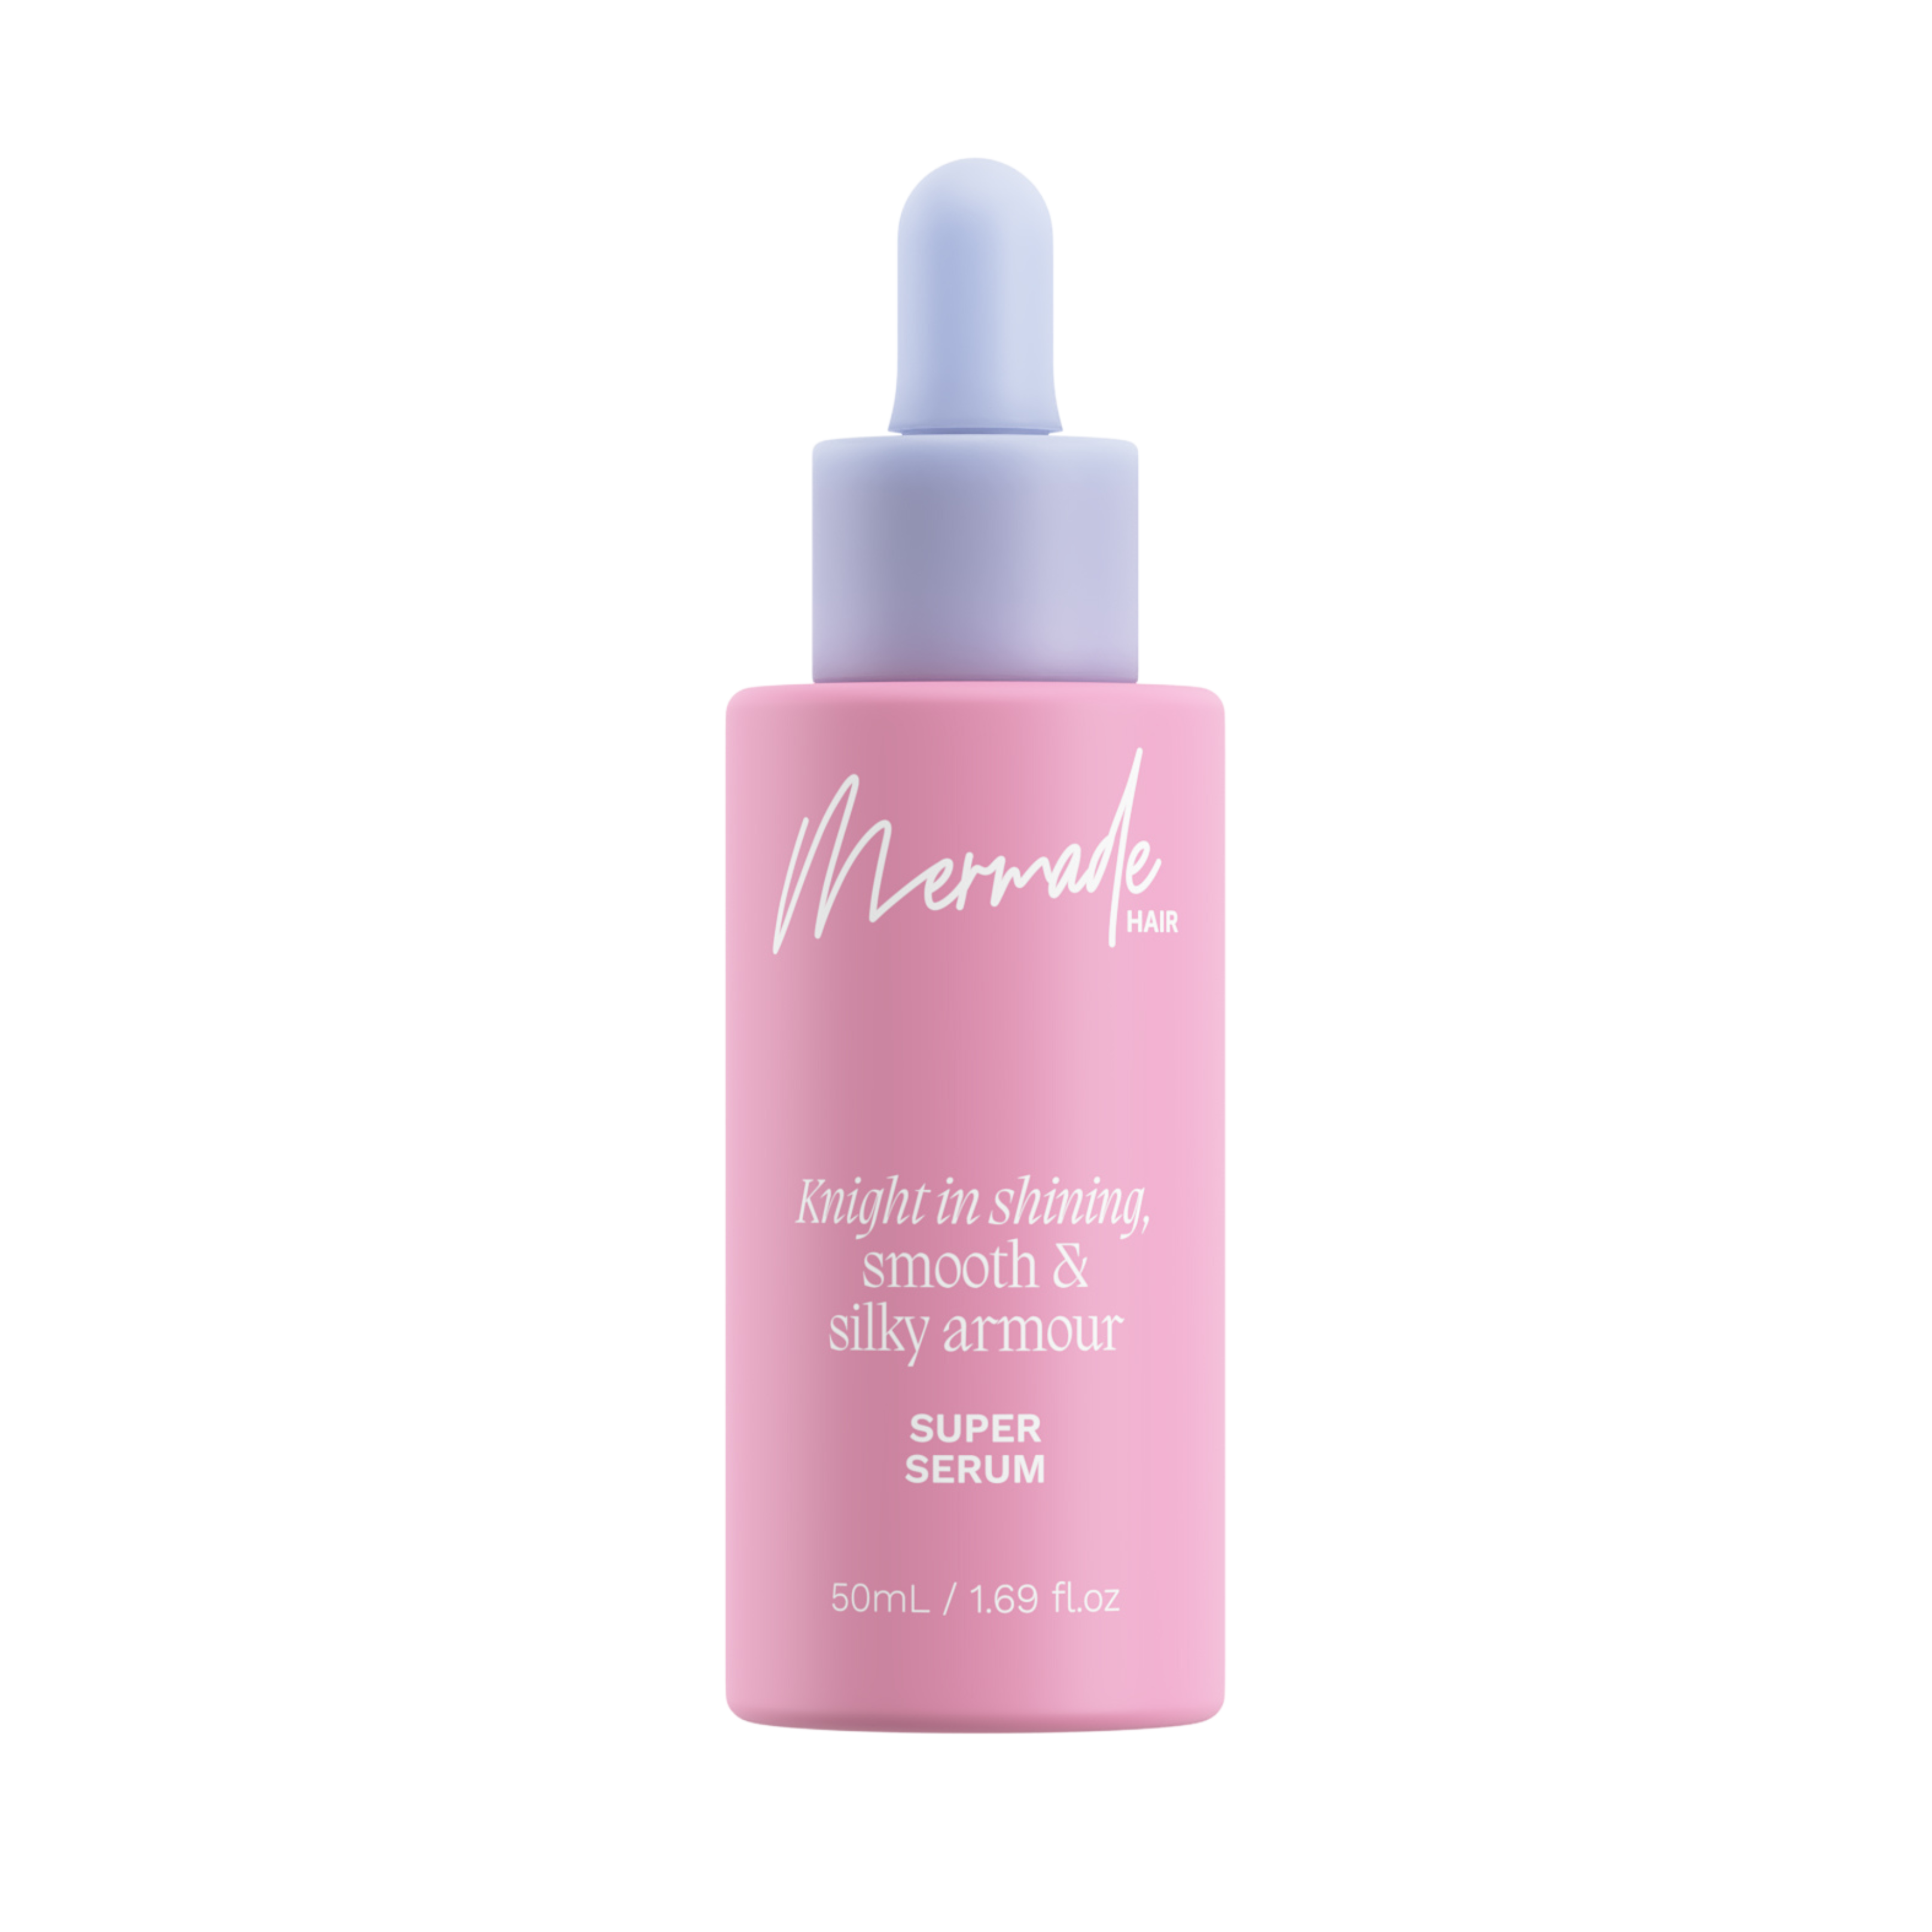
Finish off with Super Serum, running it lightly through the hair and focusing on the ends for extra softness and shine.

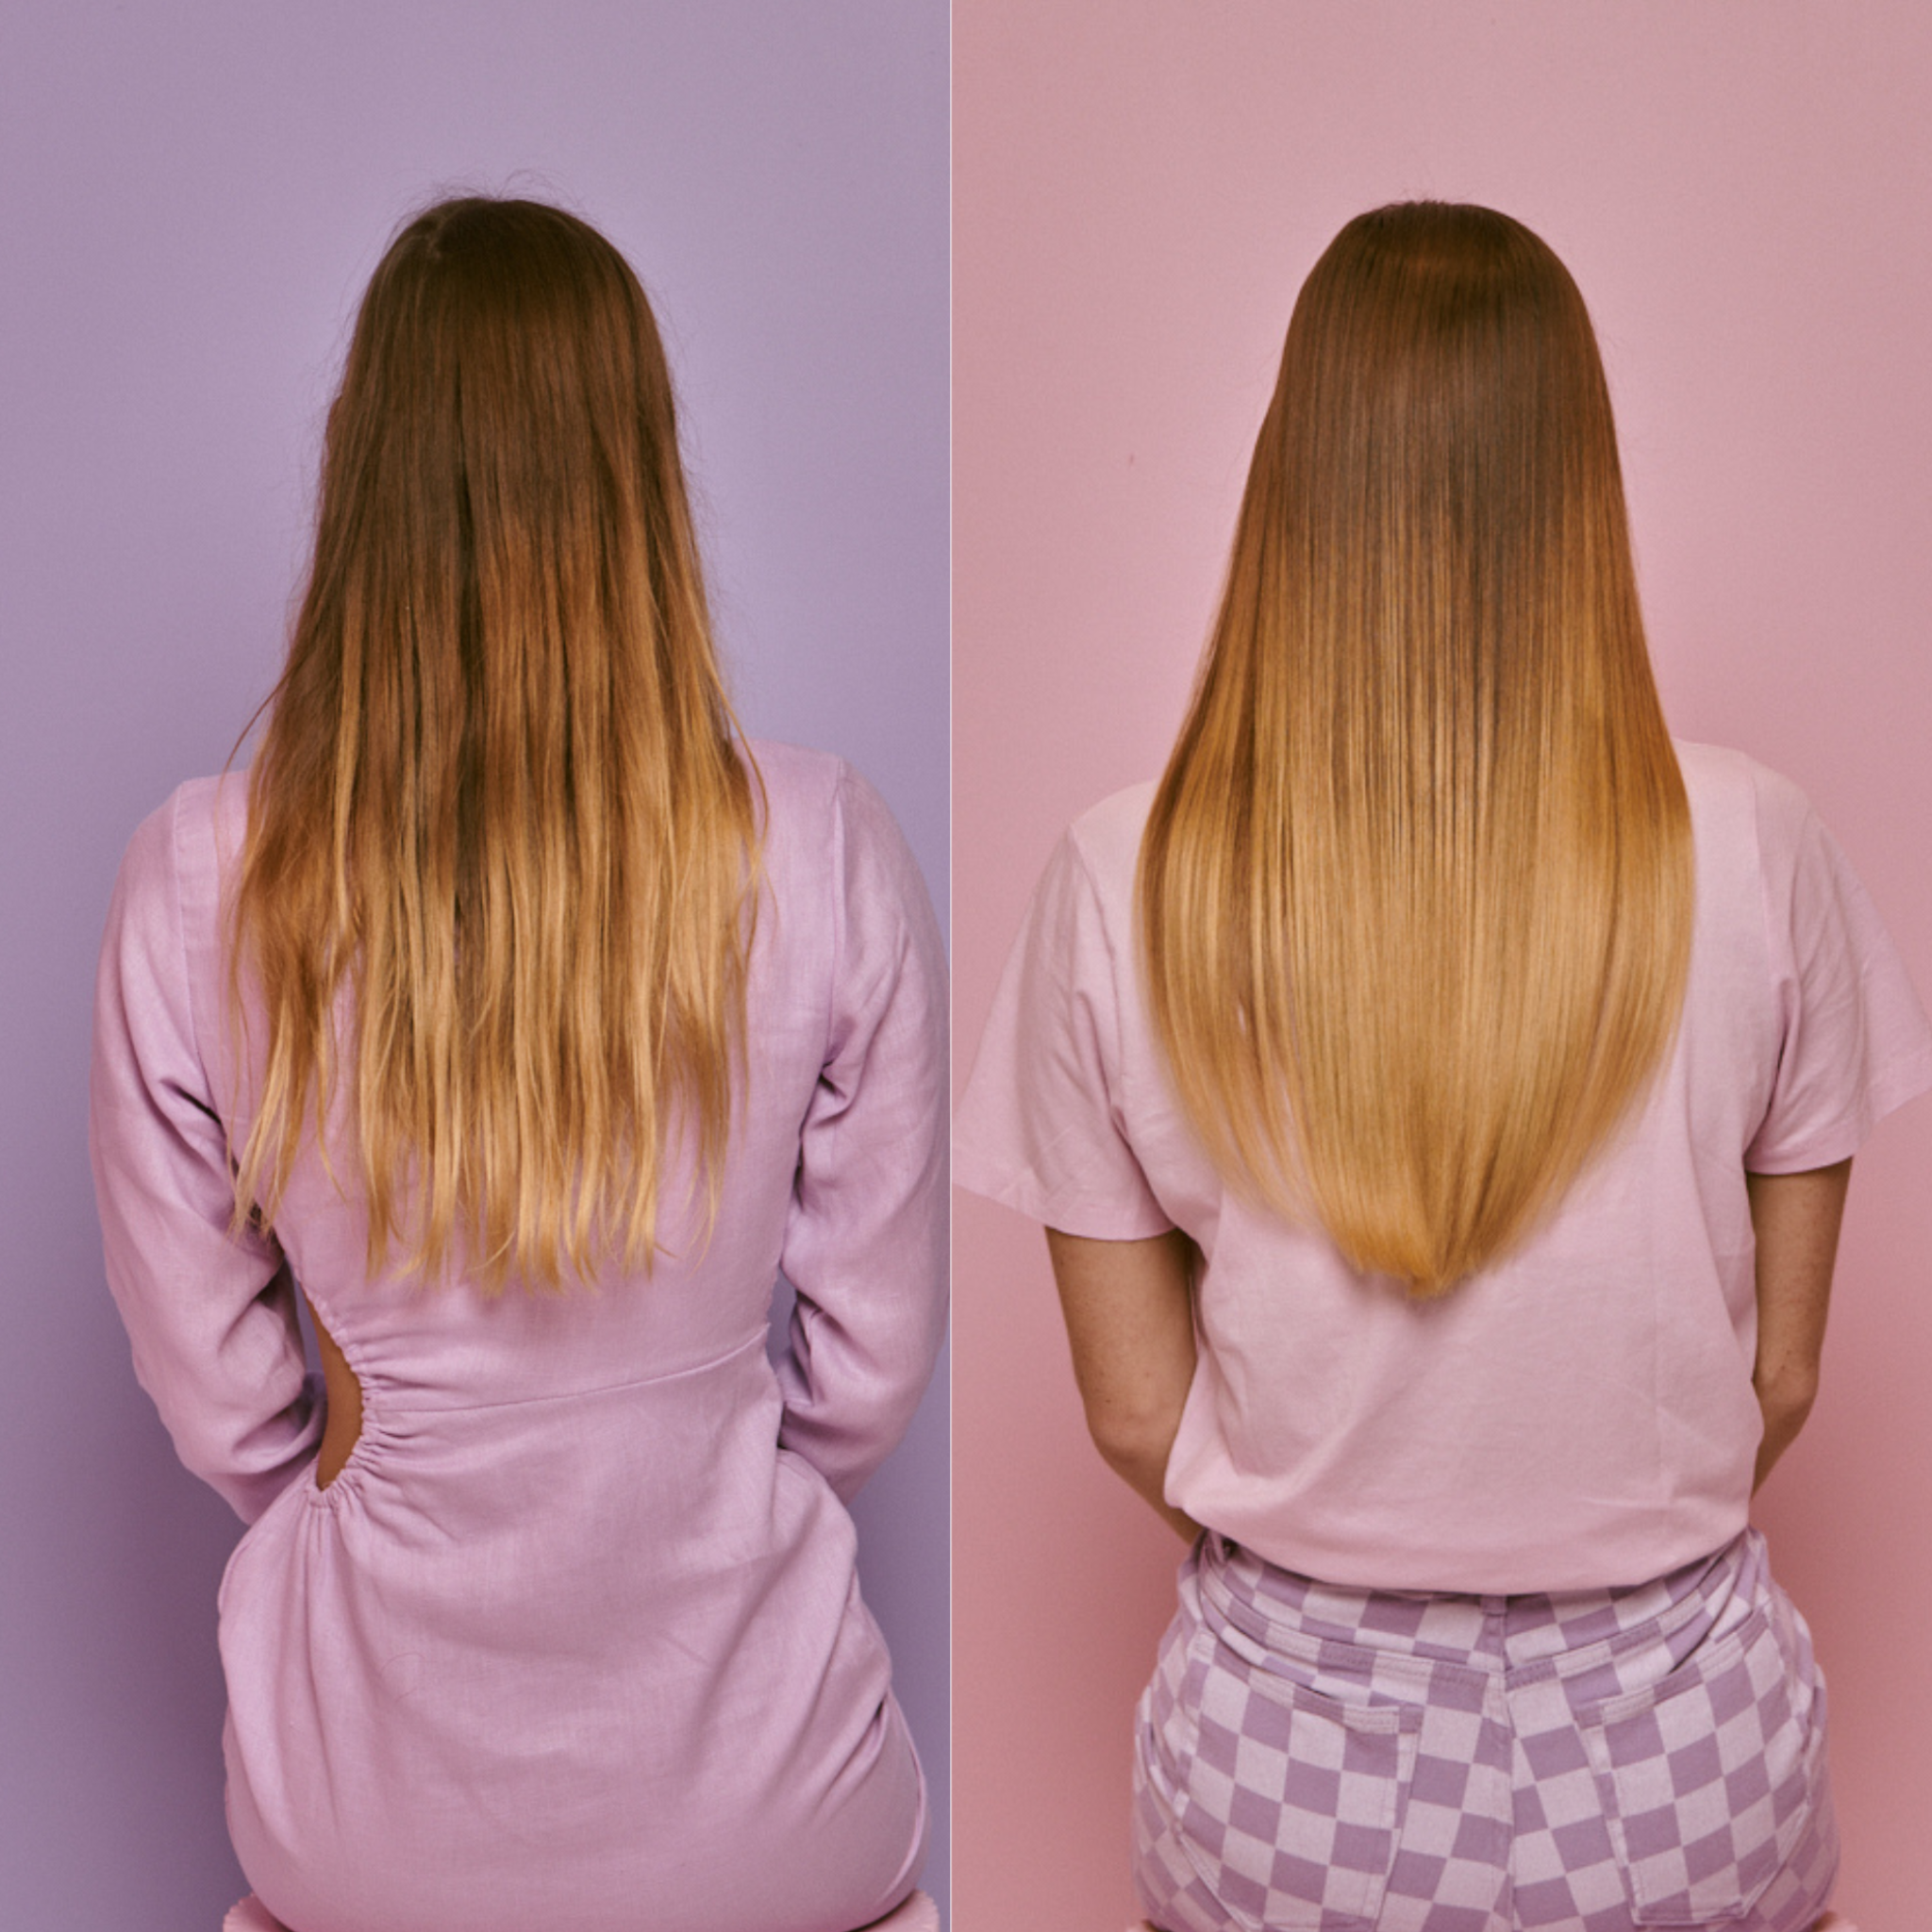
The Result? Effortless, Dreamy Waves
Trust me when I say the Double Waver is so easy and quick to use, it will become your new go-to!


