


I Finally Learned How to Curl My Hair with this Genius Tool
If you’re someone who struggles to curl their hair… this tool might be the right fit for you!
Sometimes it’s a struggle to wrap your hair around the barrel correctly. Sometimes your curls just don’t turn out the way you want them to. Sometimes you accidentally burn yourself trying to master the hair wrap. Sometimes you’re just not in the mood to lift your arms behind your head to get to all the hard-to-reach spots. Sometimes… you just can’t be bothered curling your hair.
Don’t worry… we’ve been there.
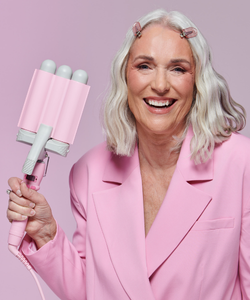
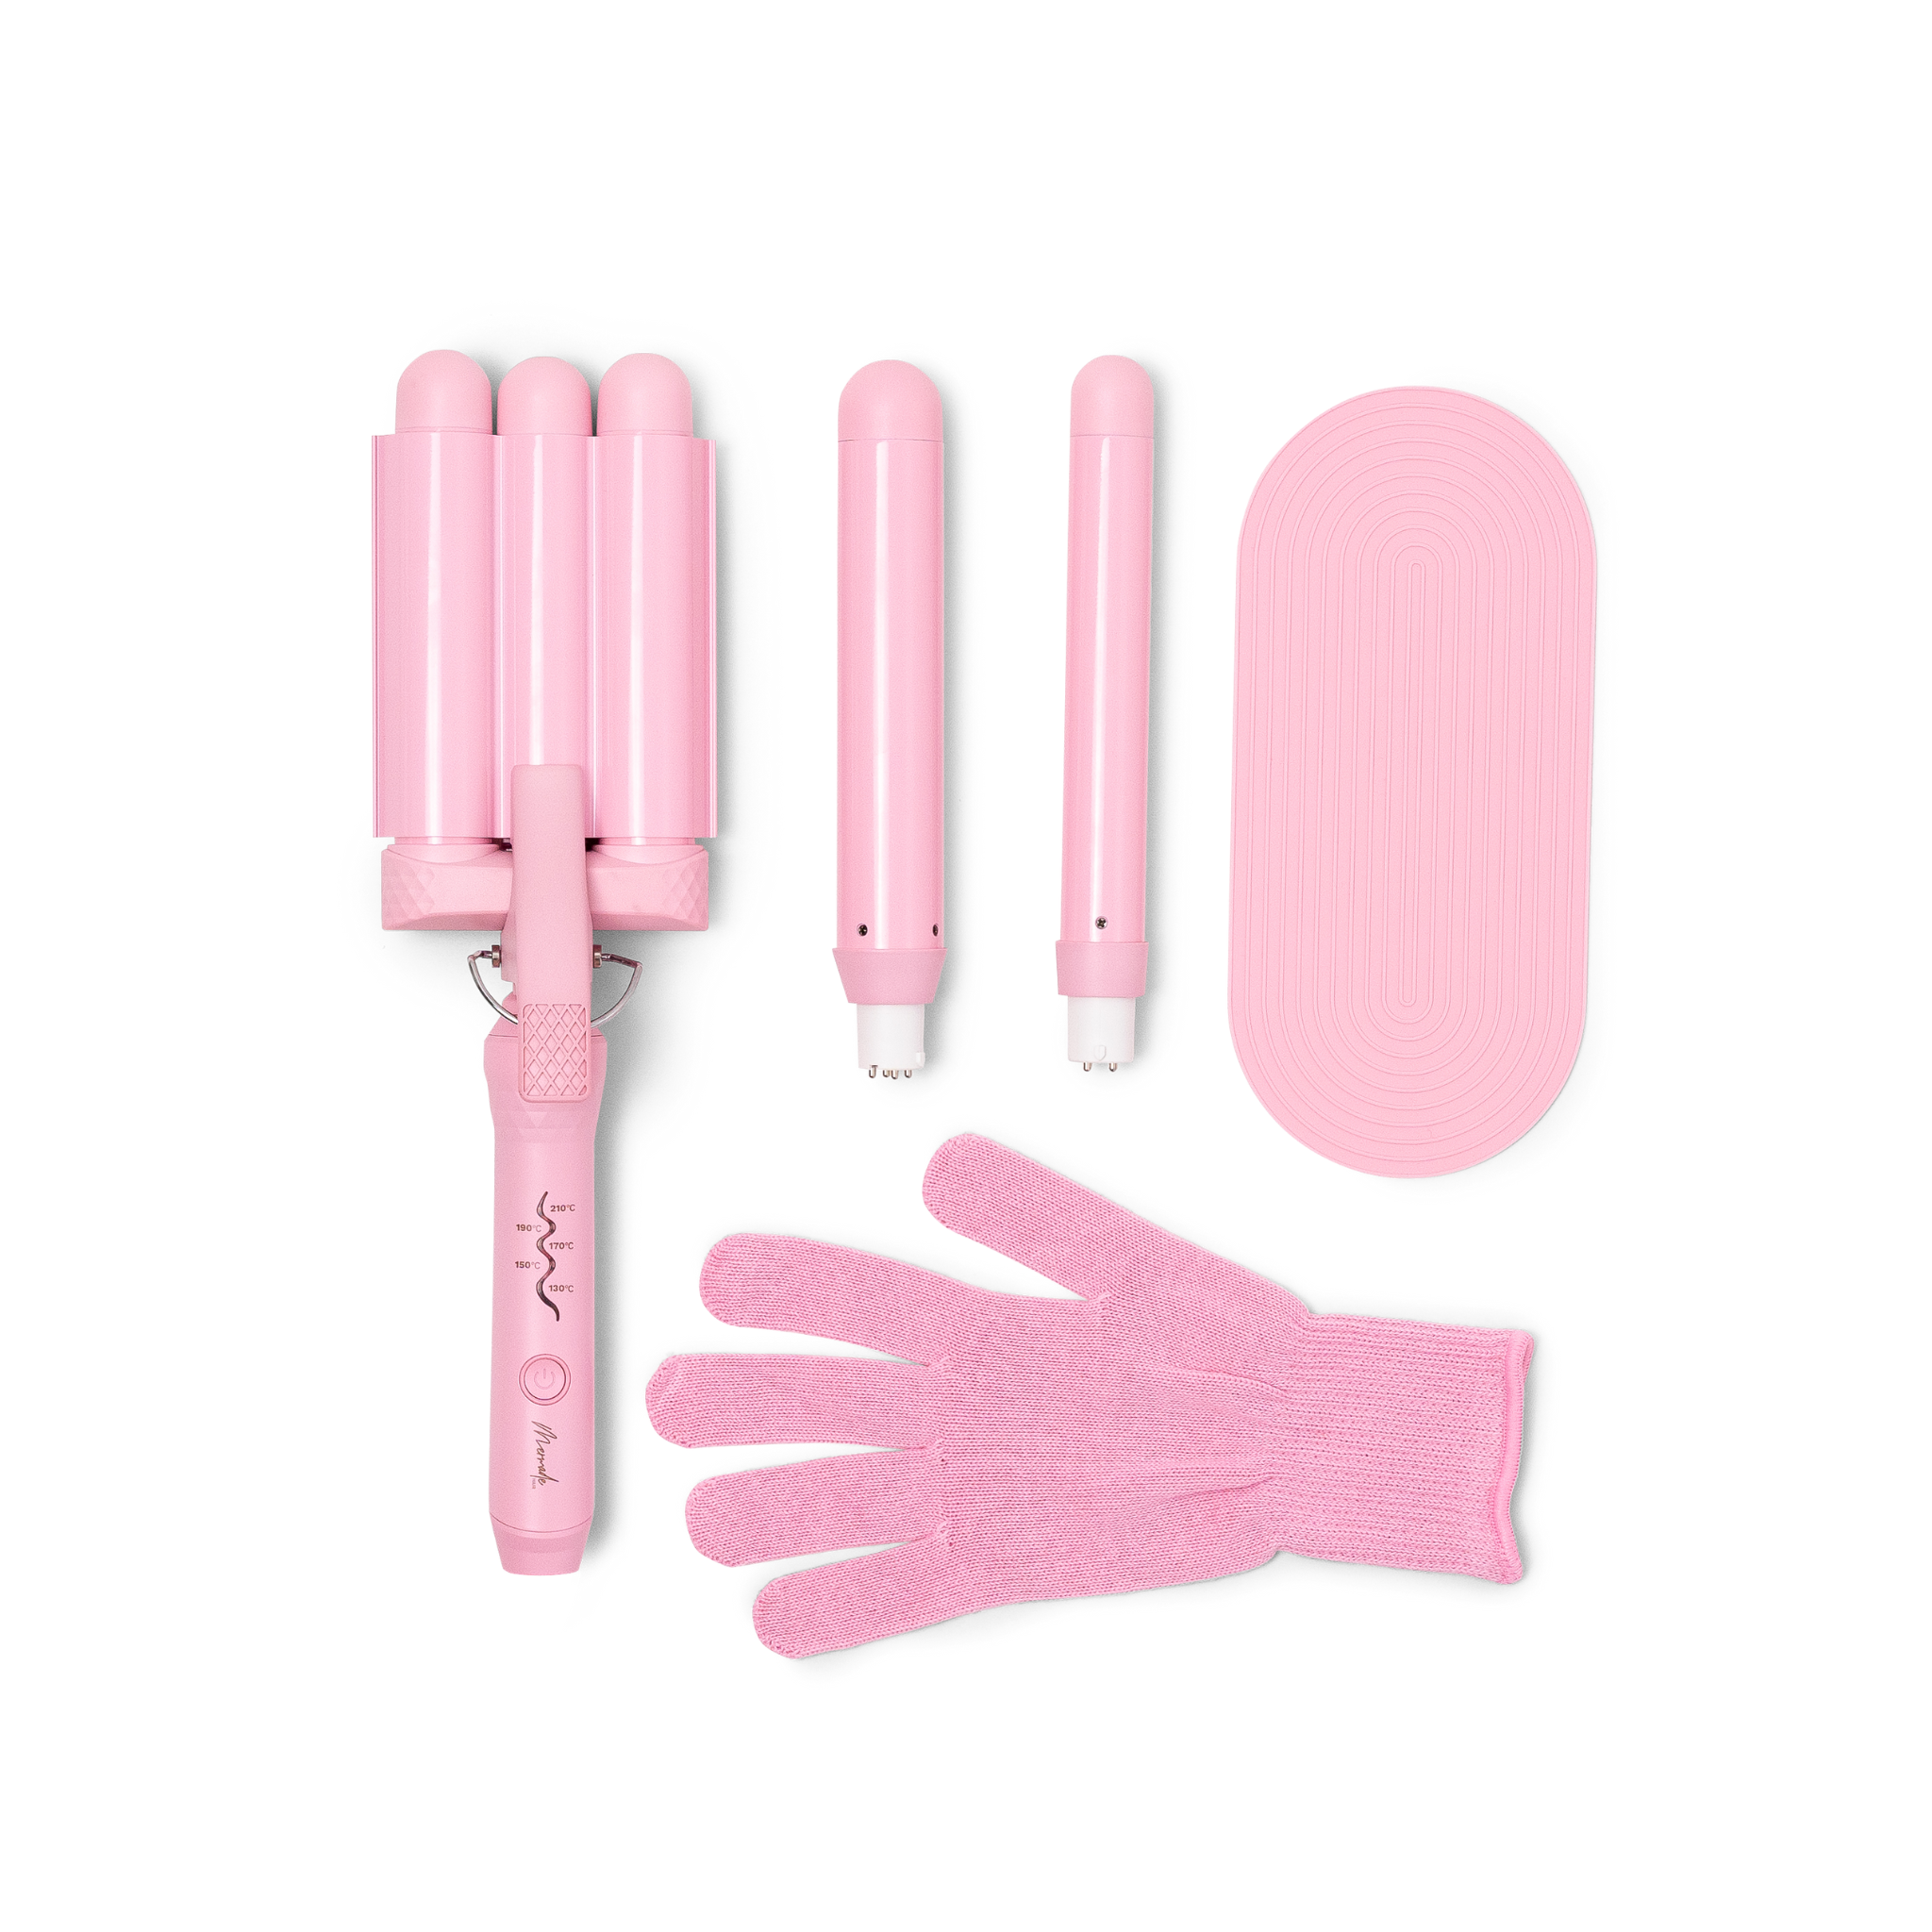
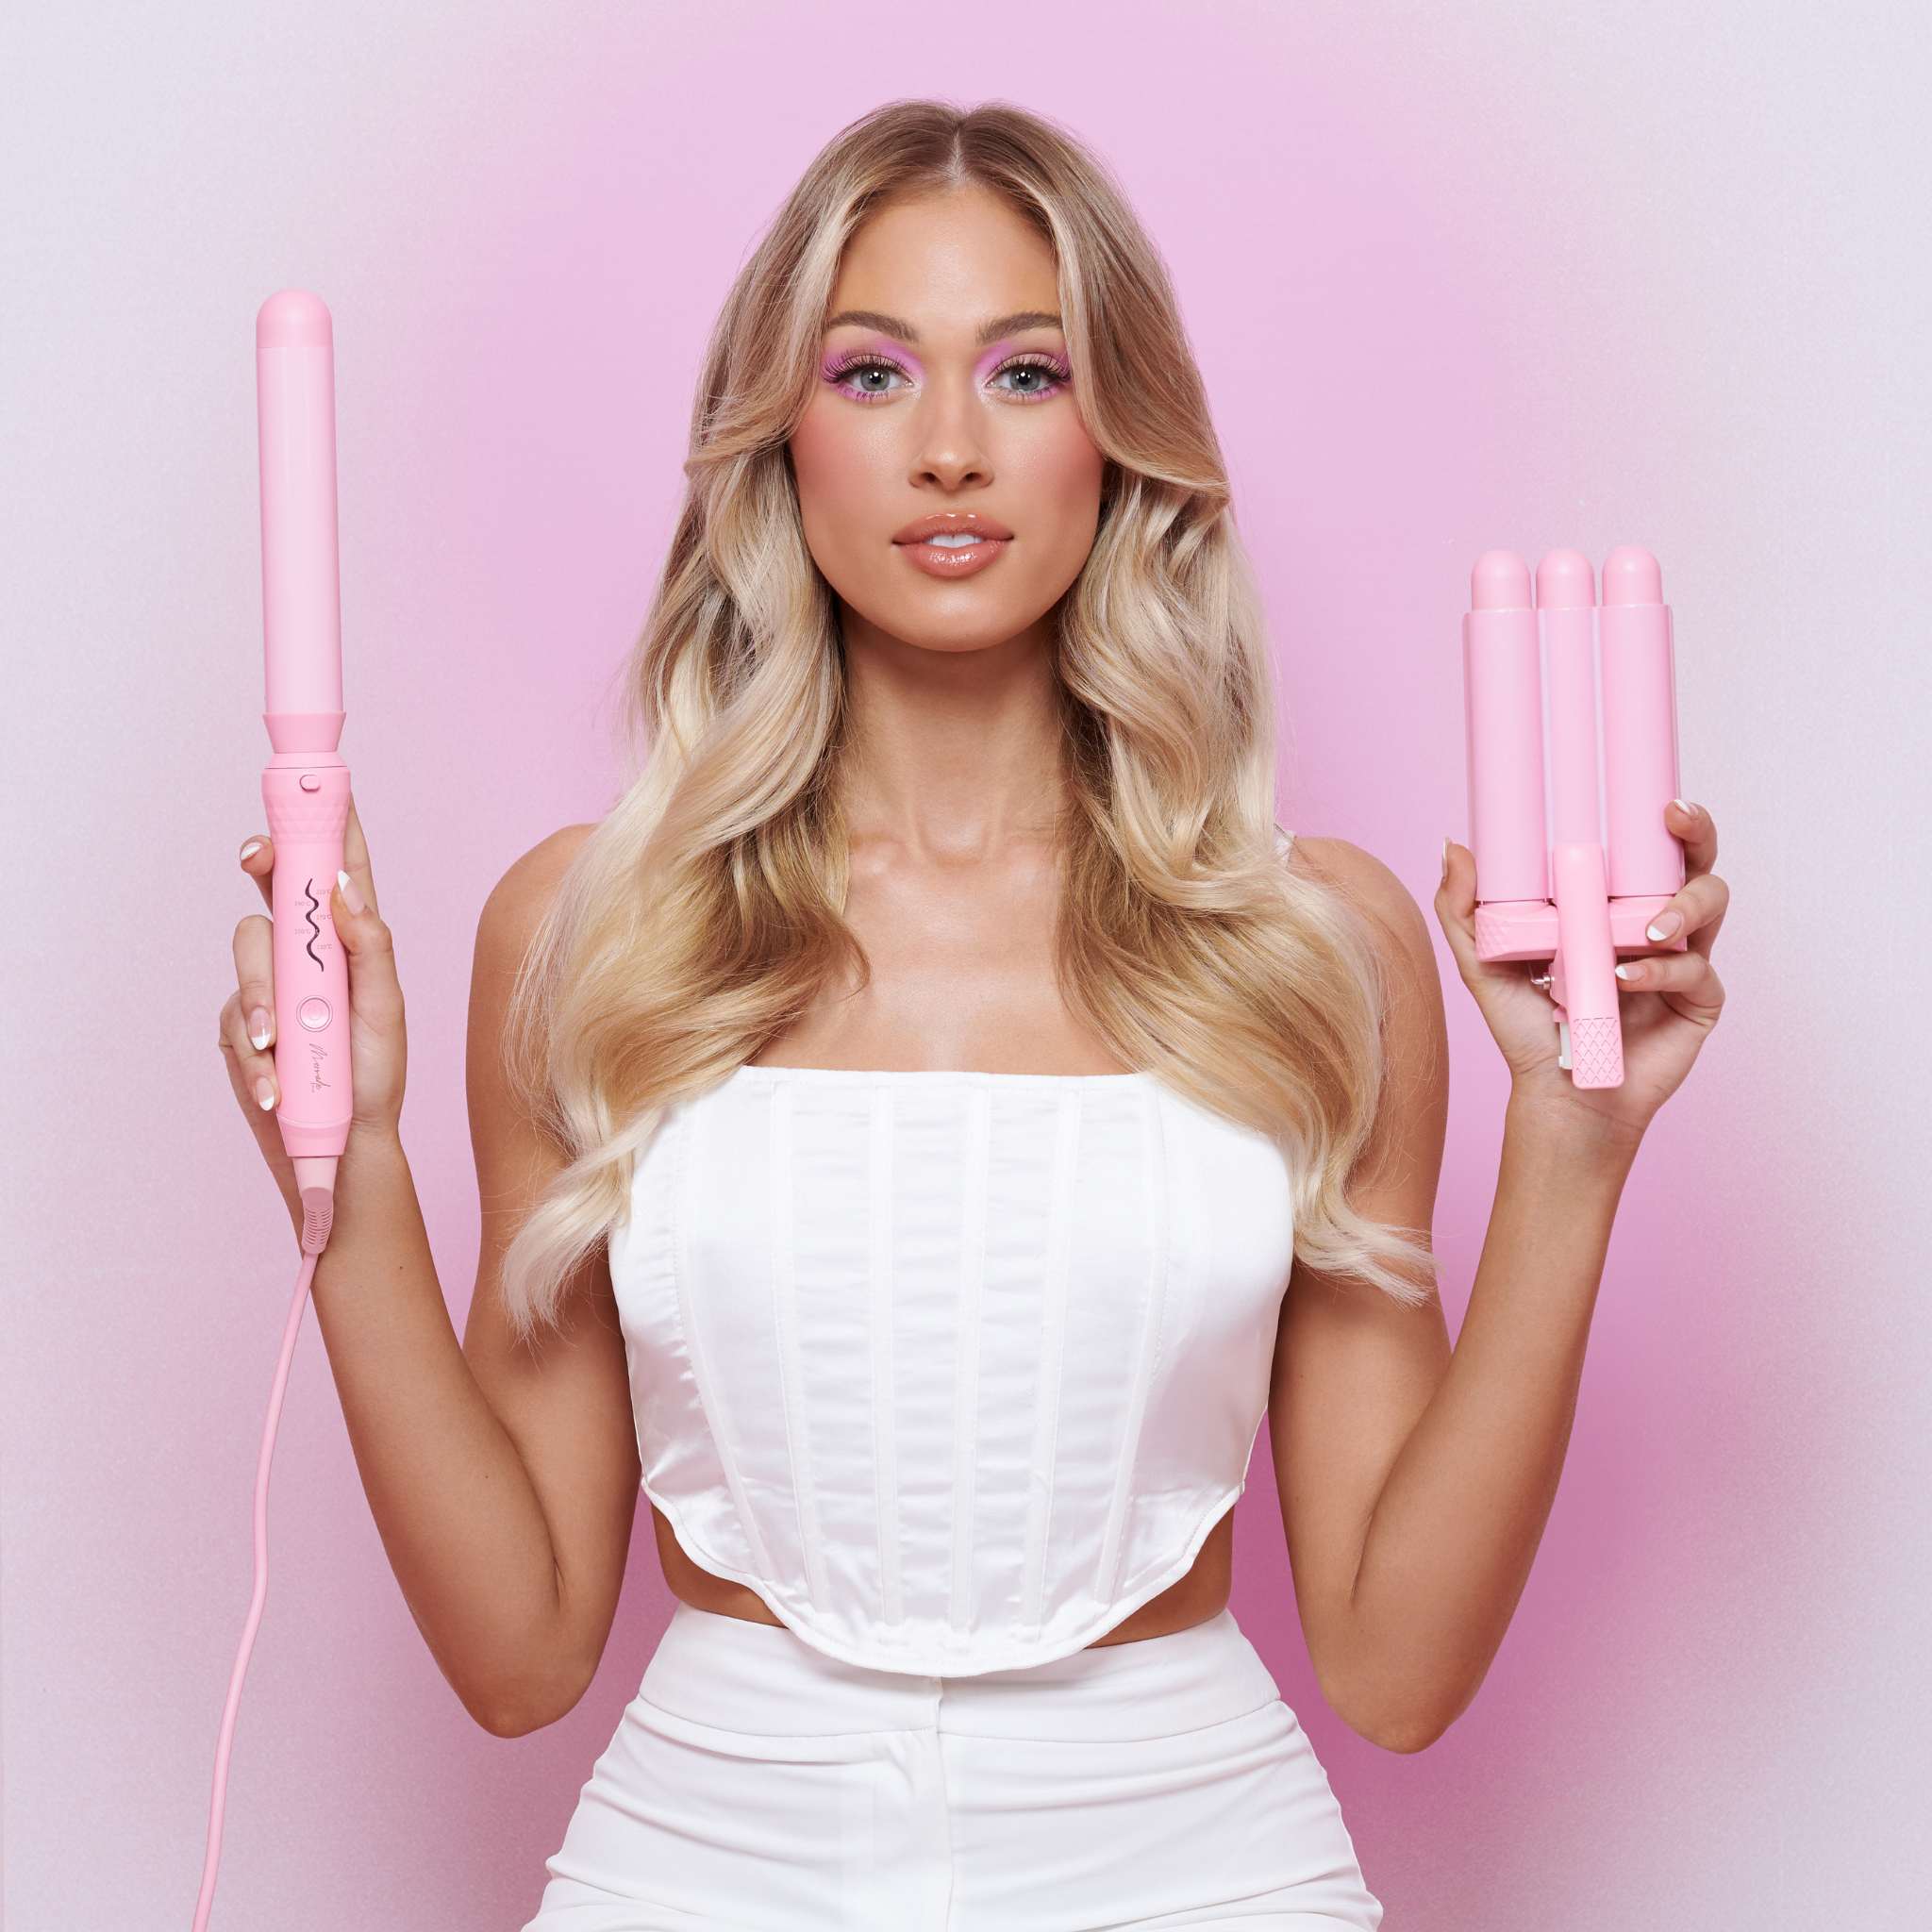
That’s why we created the Spin that does all the hard work. It’s so quick and easy to use, you’ll wonder why you didn’t get one sooner!

How It Works
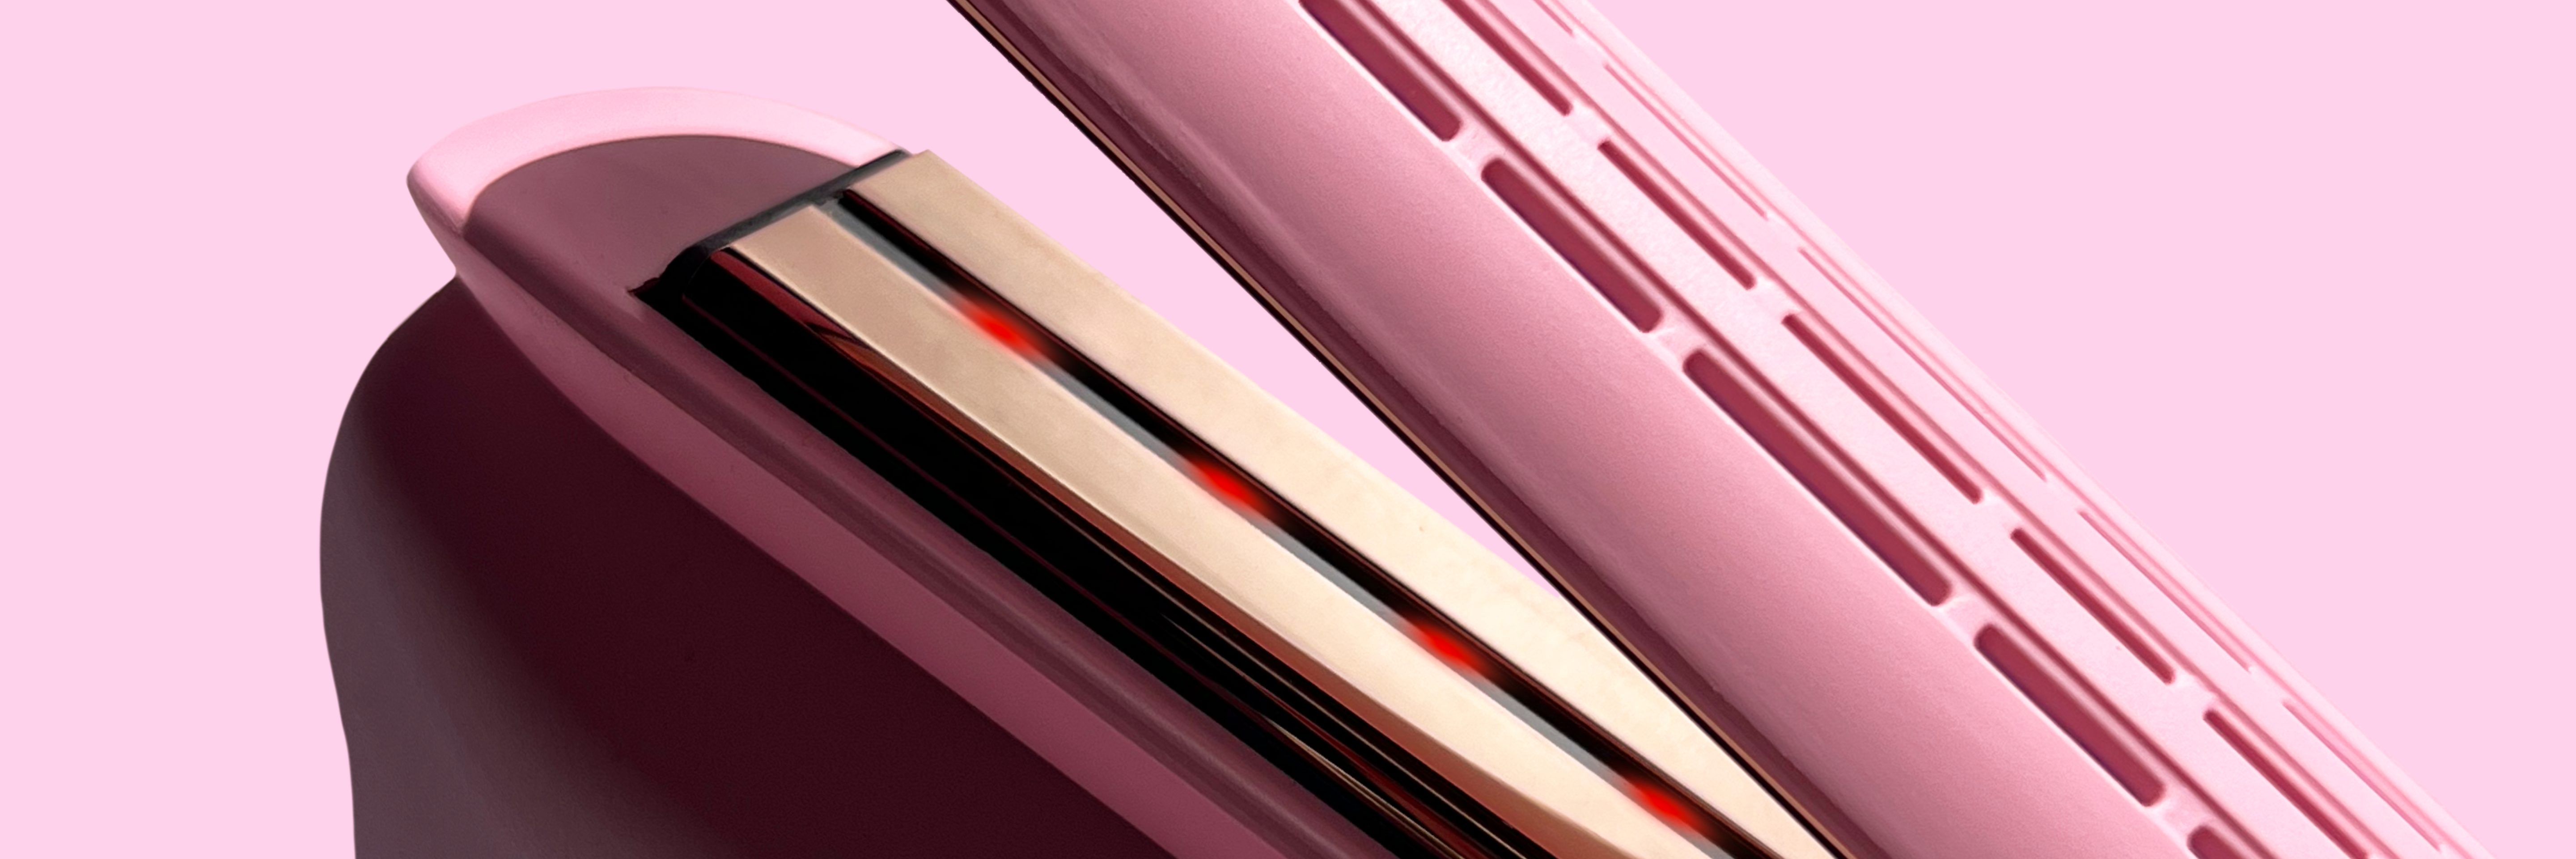
The Spin uses a rotating barrel that spins 360° at the touch of a button. So if you’ve ever wished that your curler could just curl your hair for you… it can.
Here’s a step-by-step tutorial on how to get those effortless curls. Scroll to the bottom for the video tutorial!

Step 1: Prep Your Locks
The number one rule of heat styling is to always use a heat protectant. Spray hair liberally using Mermade Mist to prevent damage, add shine, minimize frizz, and help your curls last all day.

Step 2: Prep Your Tool
Connect your curler to power and use the ON/OFF button to turn the Spin on. Then, adjust the tool’s temperature to suit your hair.
- We suggest starting at the lowest temperature and adjusting as needed.
- For fine or damaged hair, keep the curler at a lower temperature.
- For thicker or coarser hair, a higher temperature may be required to get those curls looking defined.

Step 3: Ready to Spin
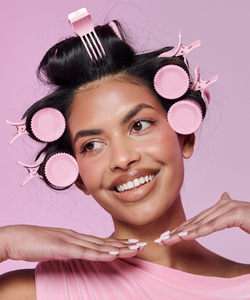
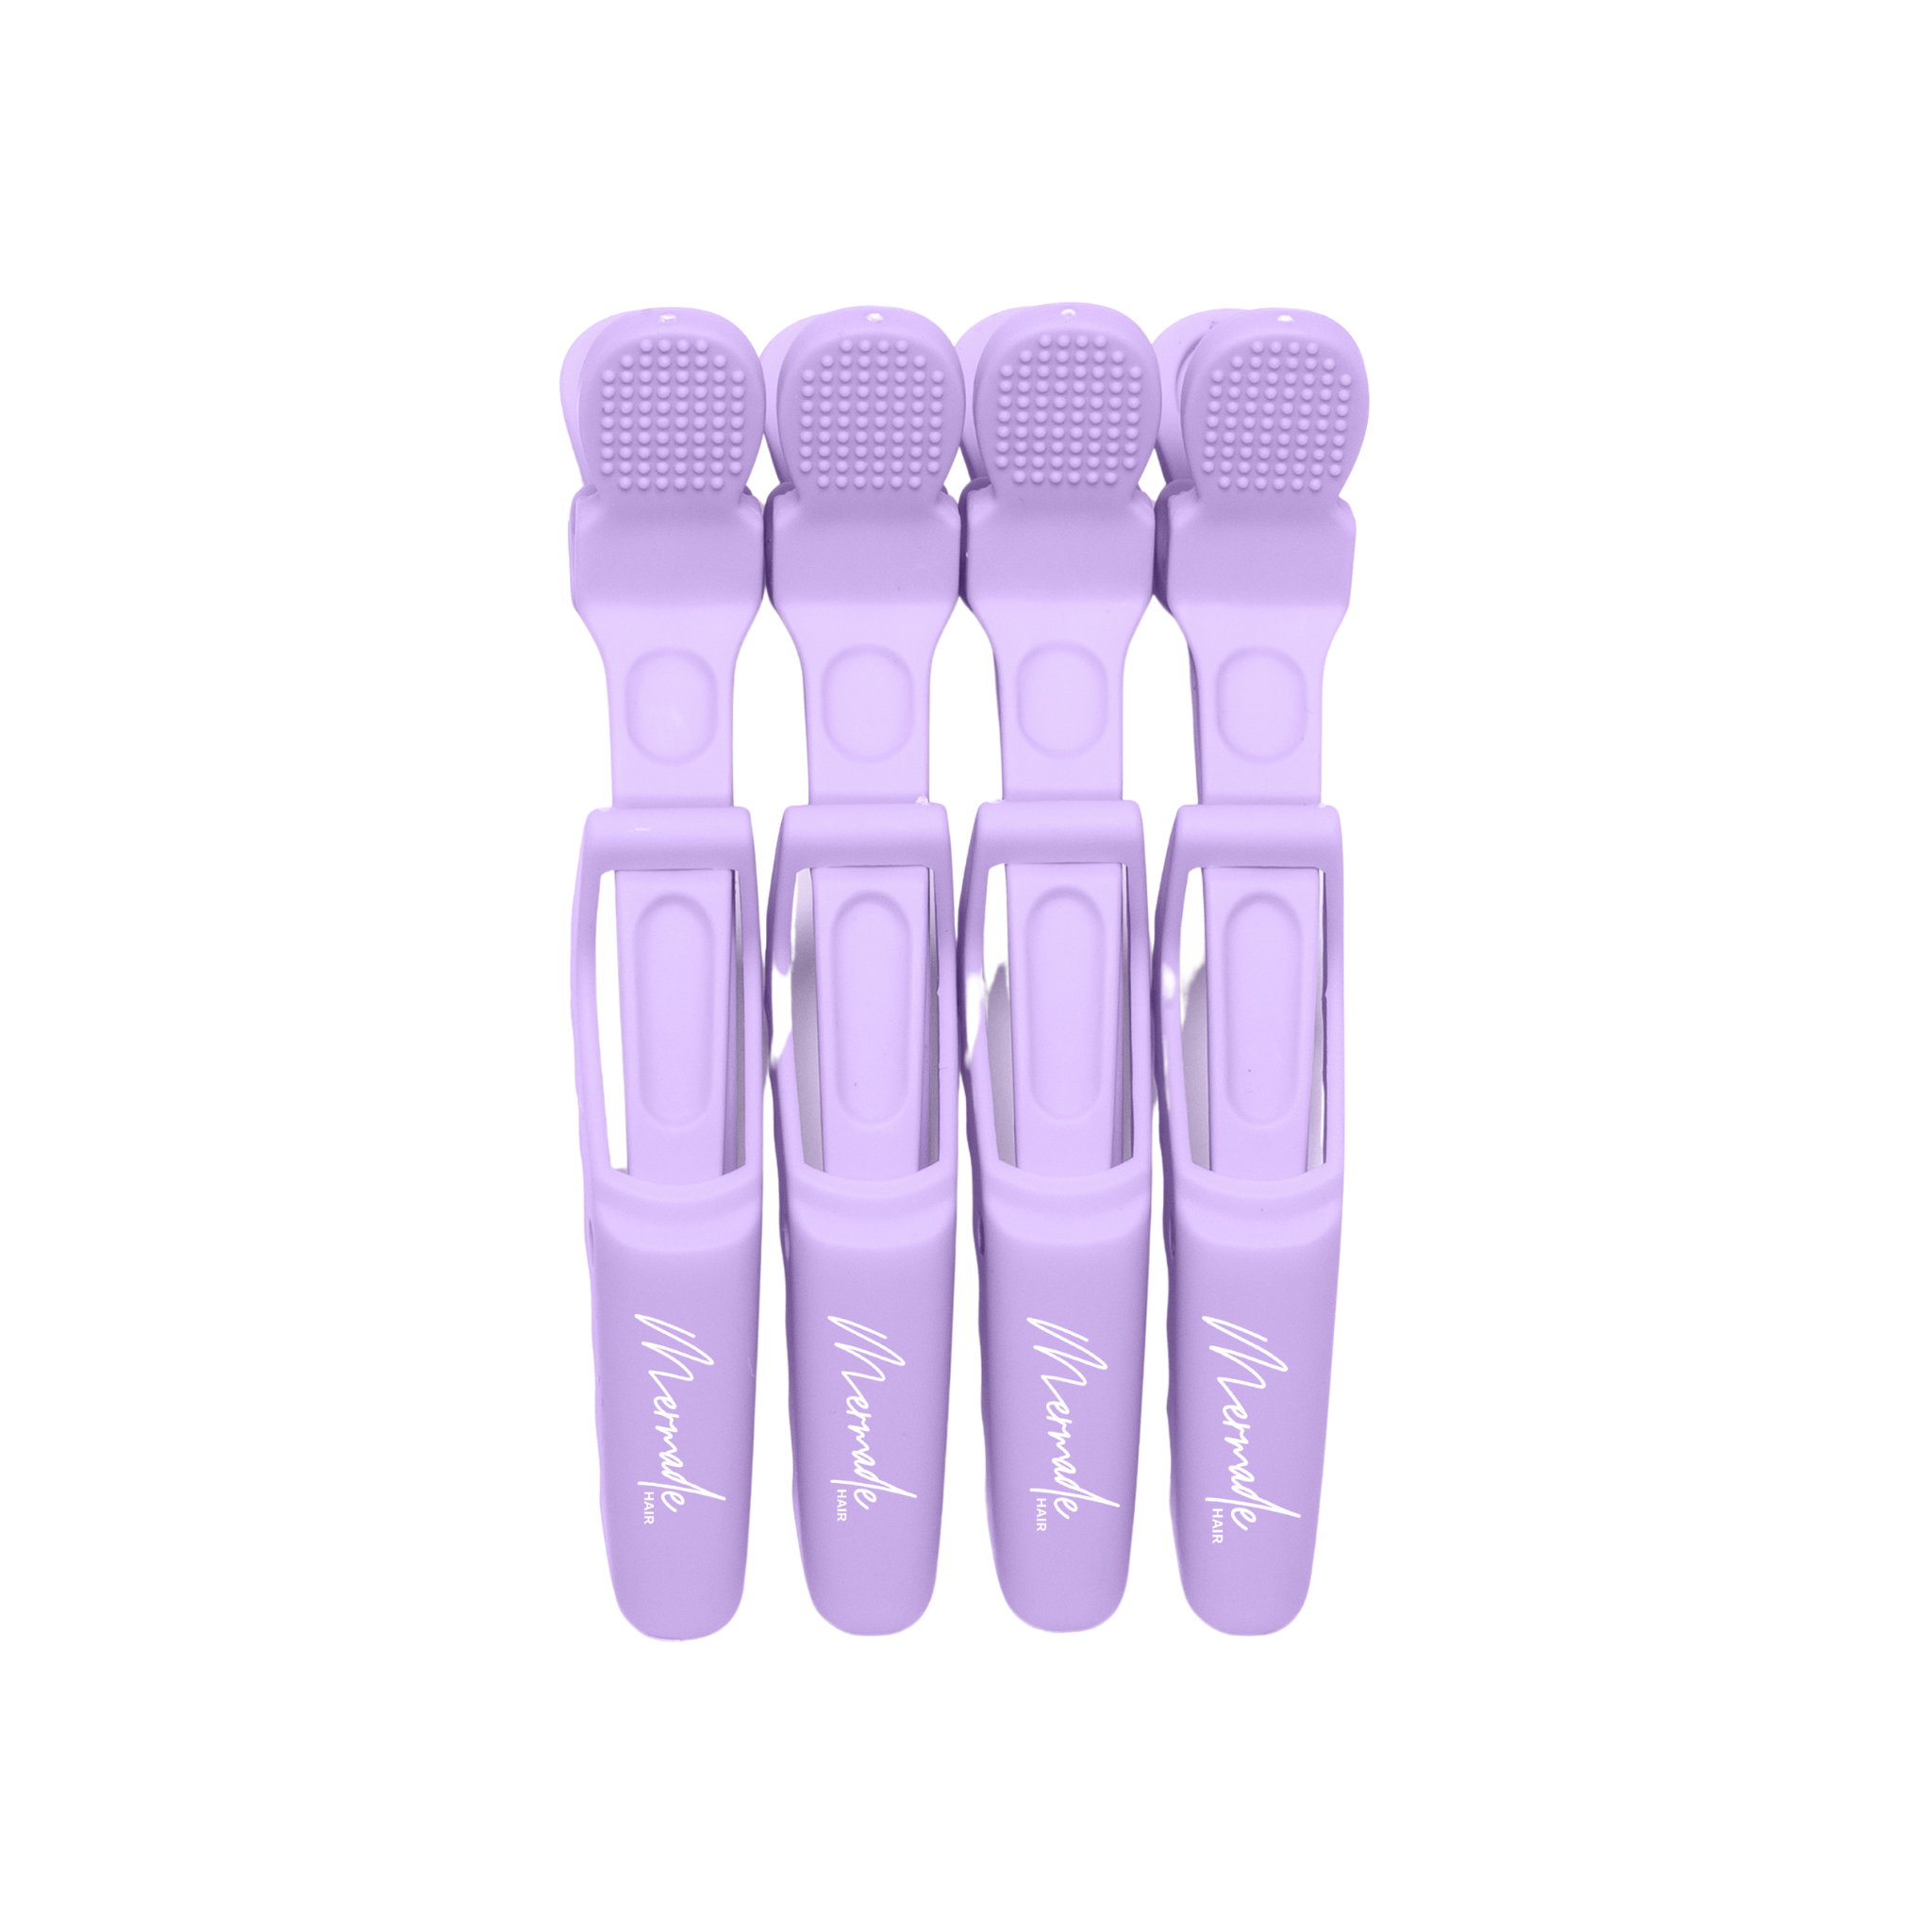
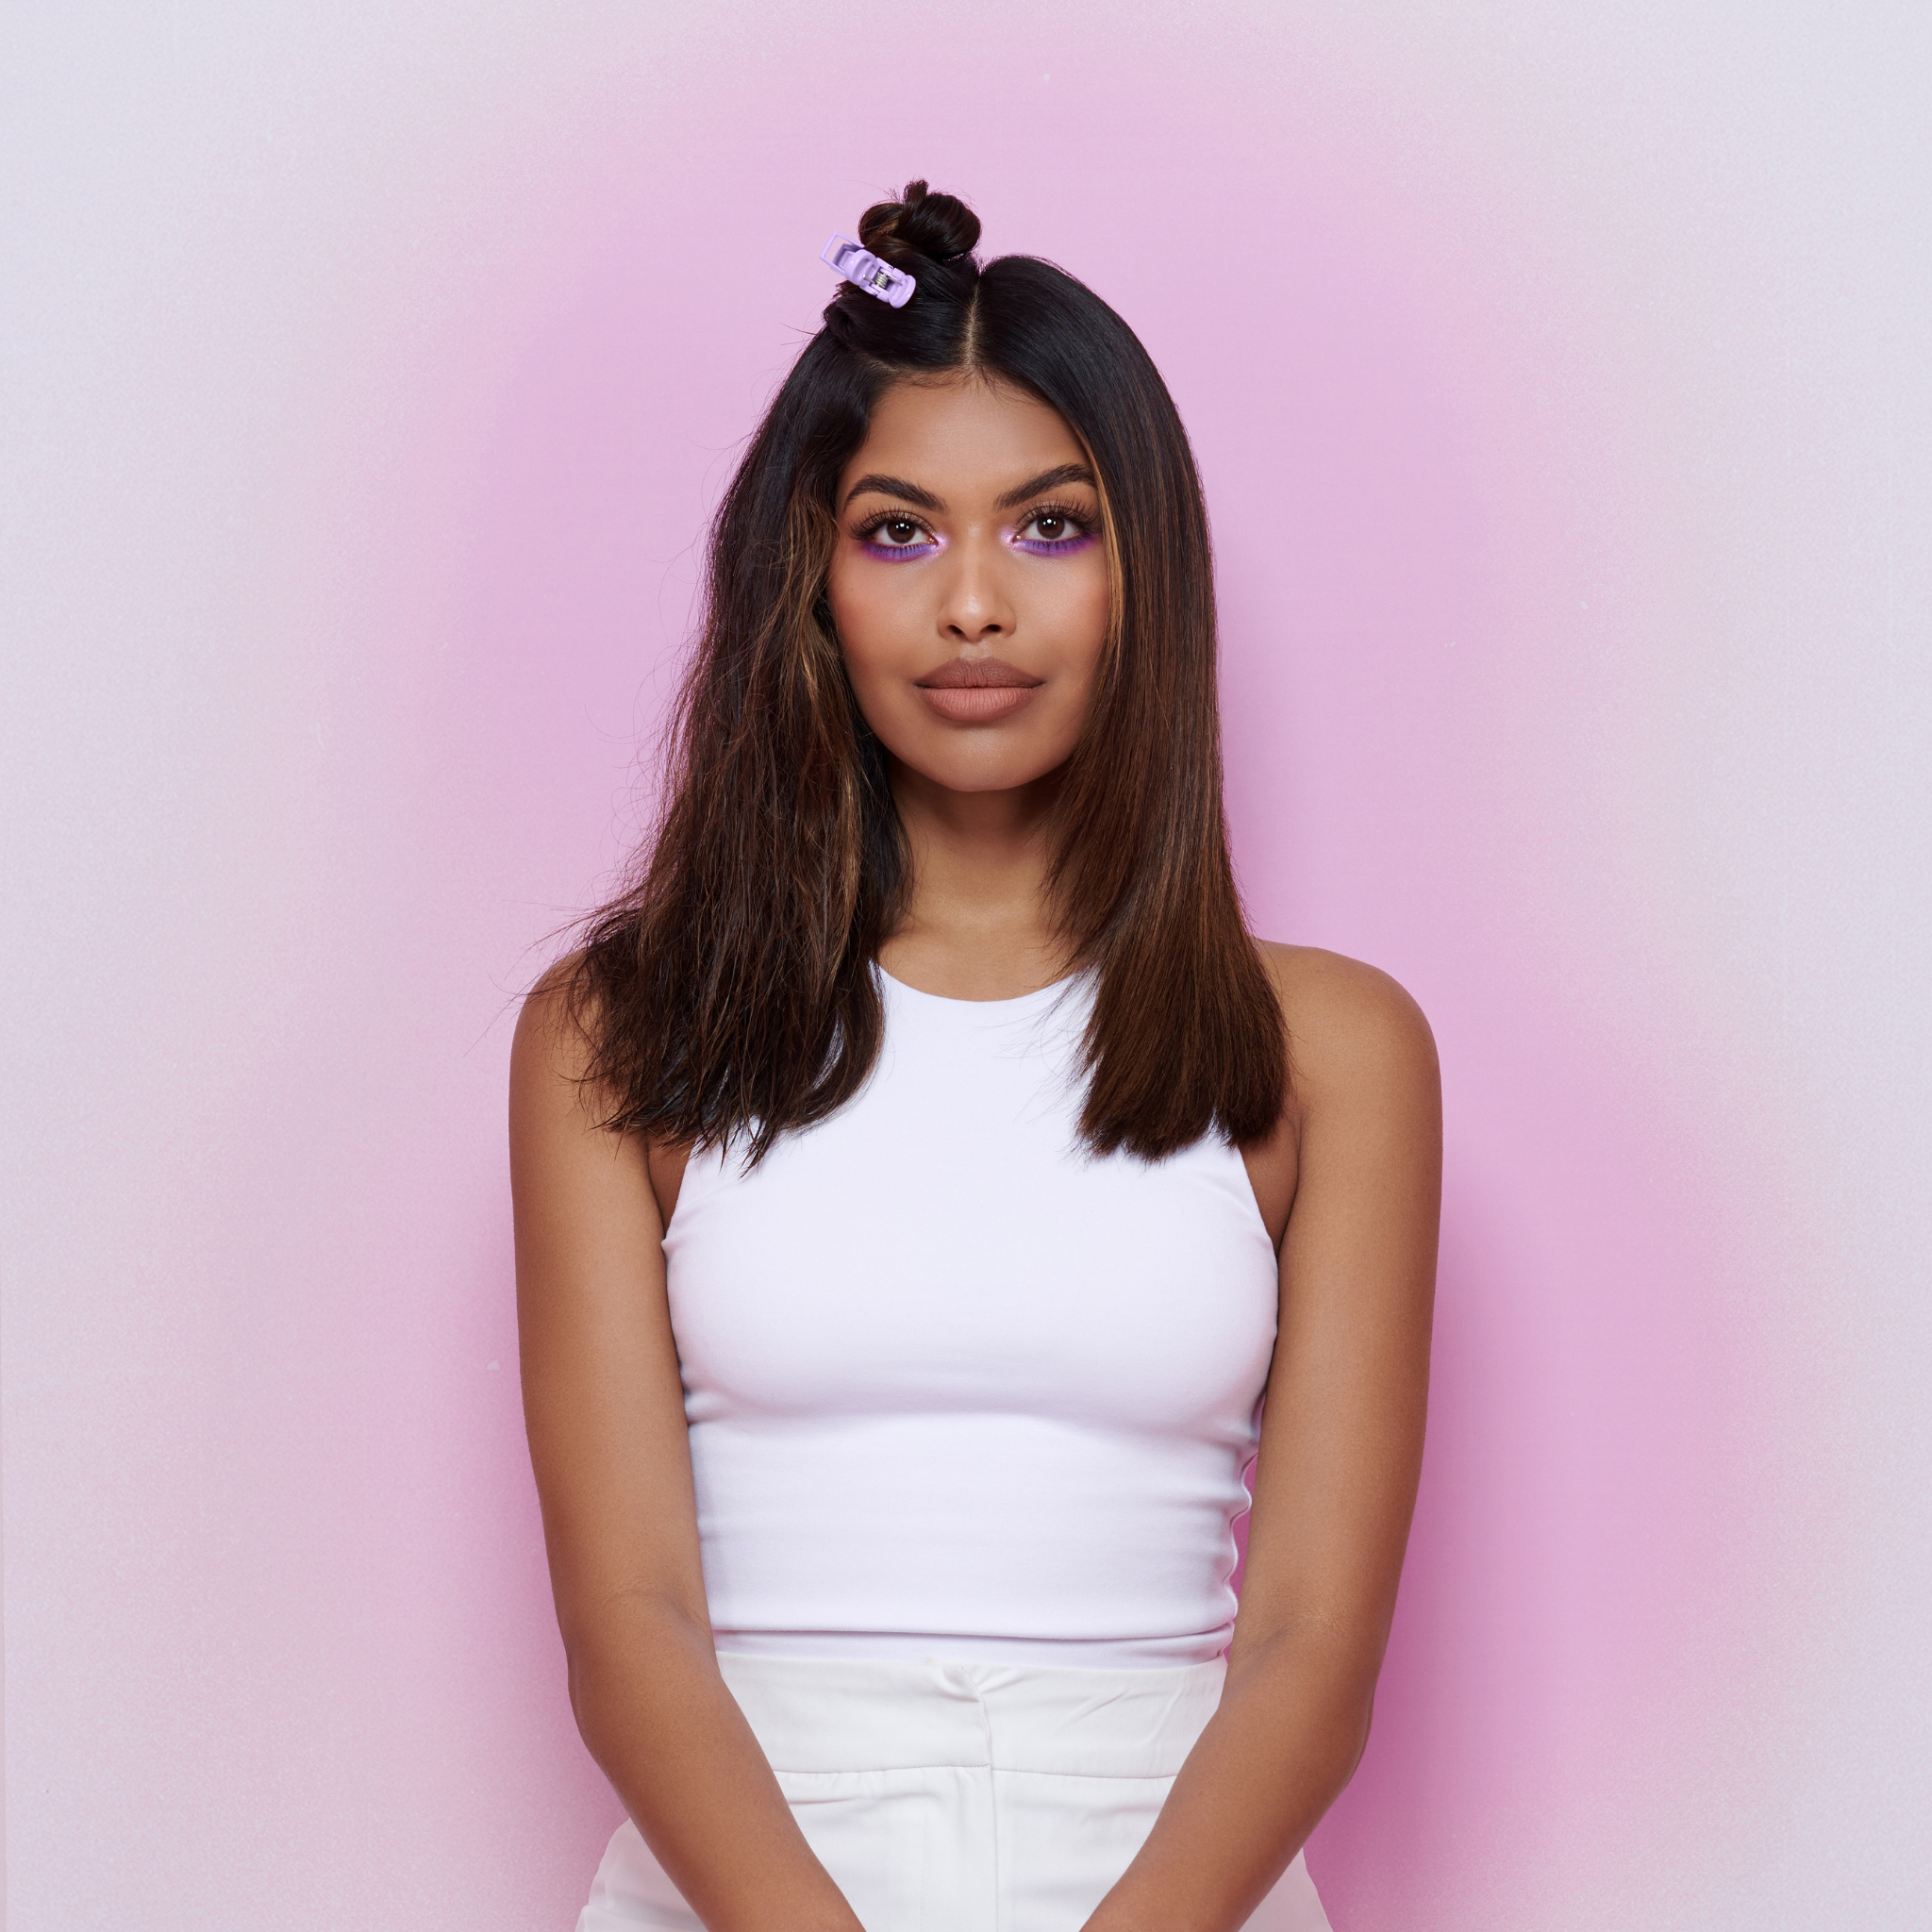
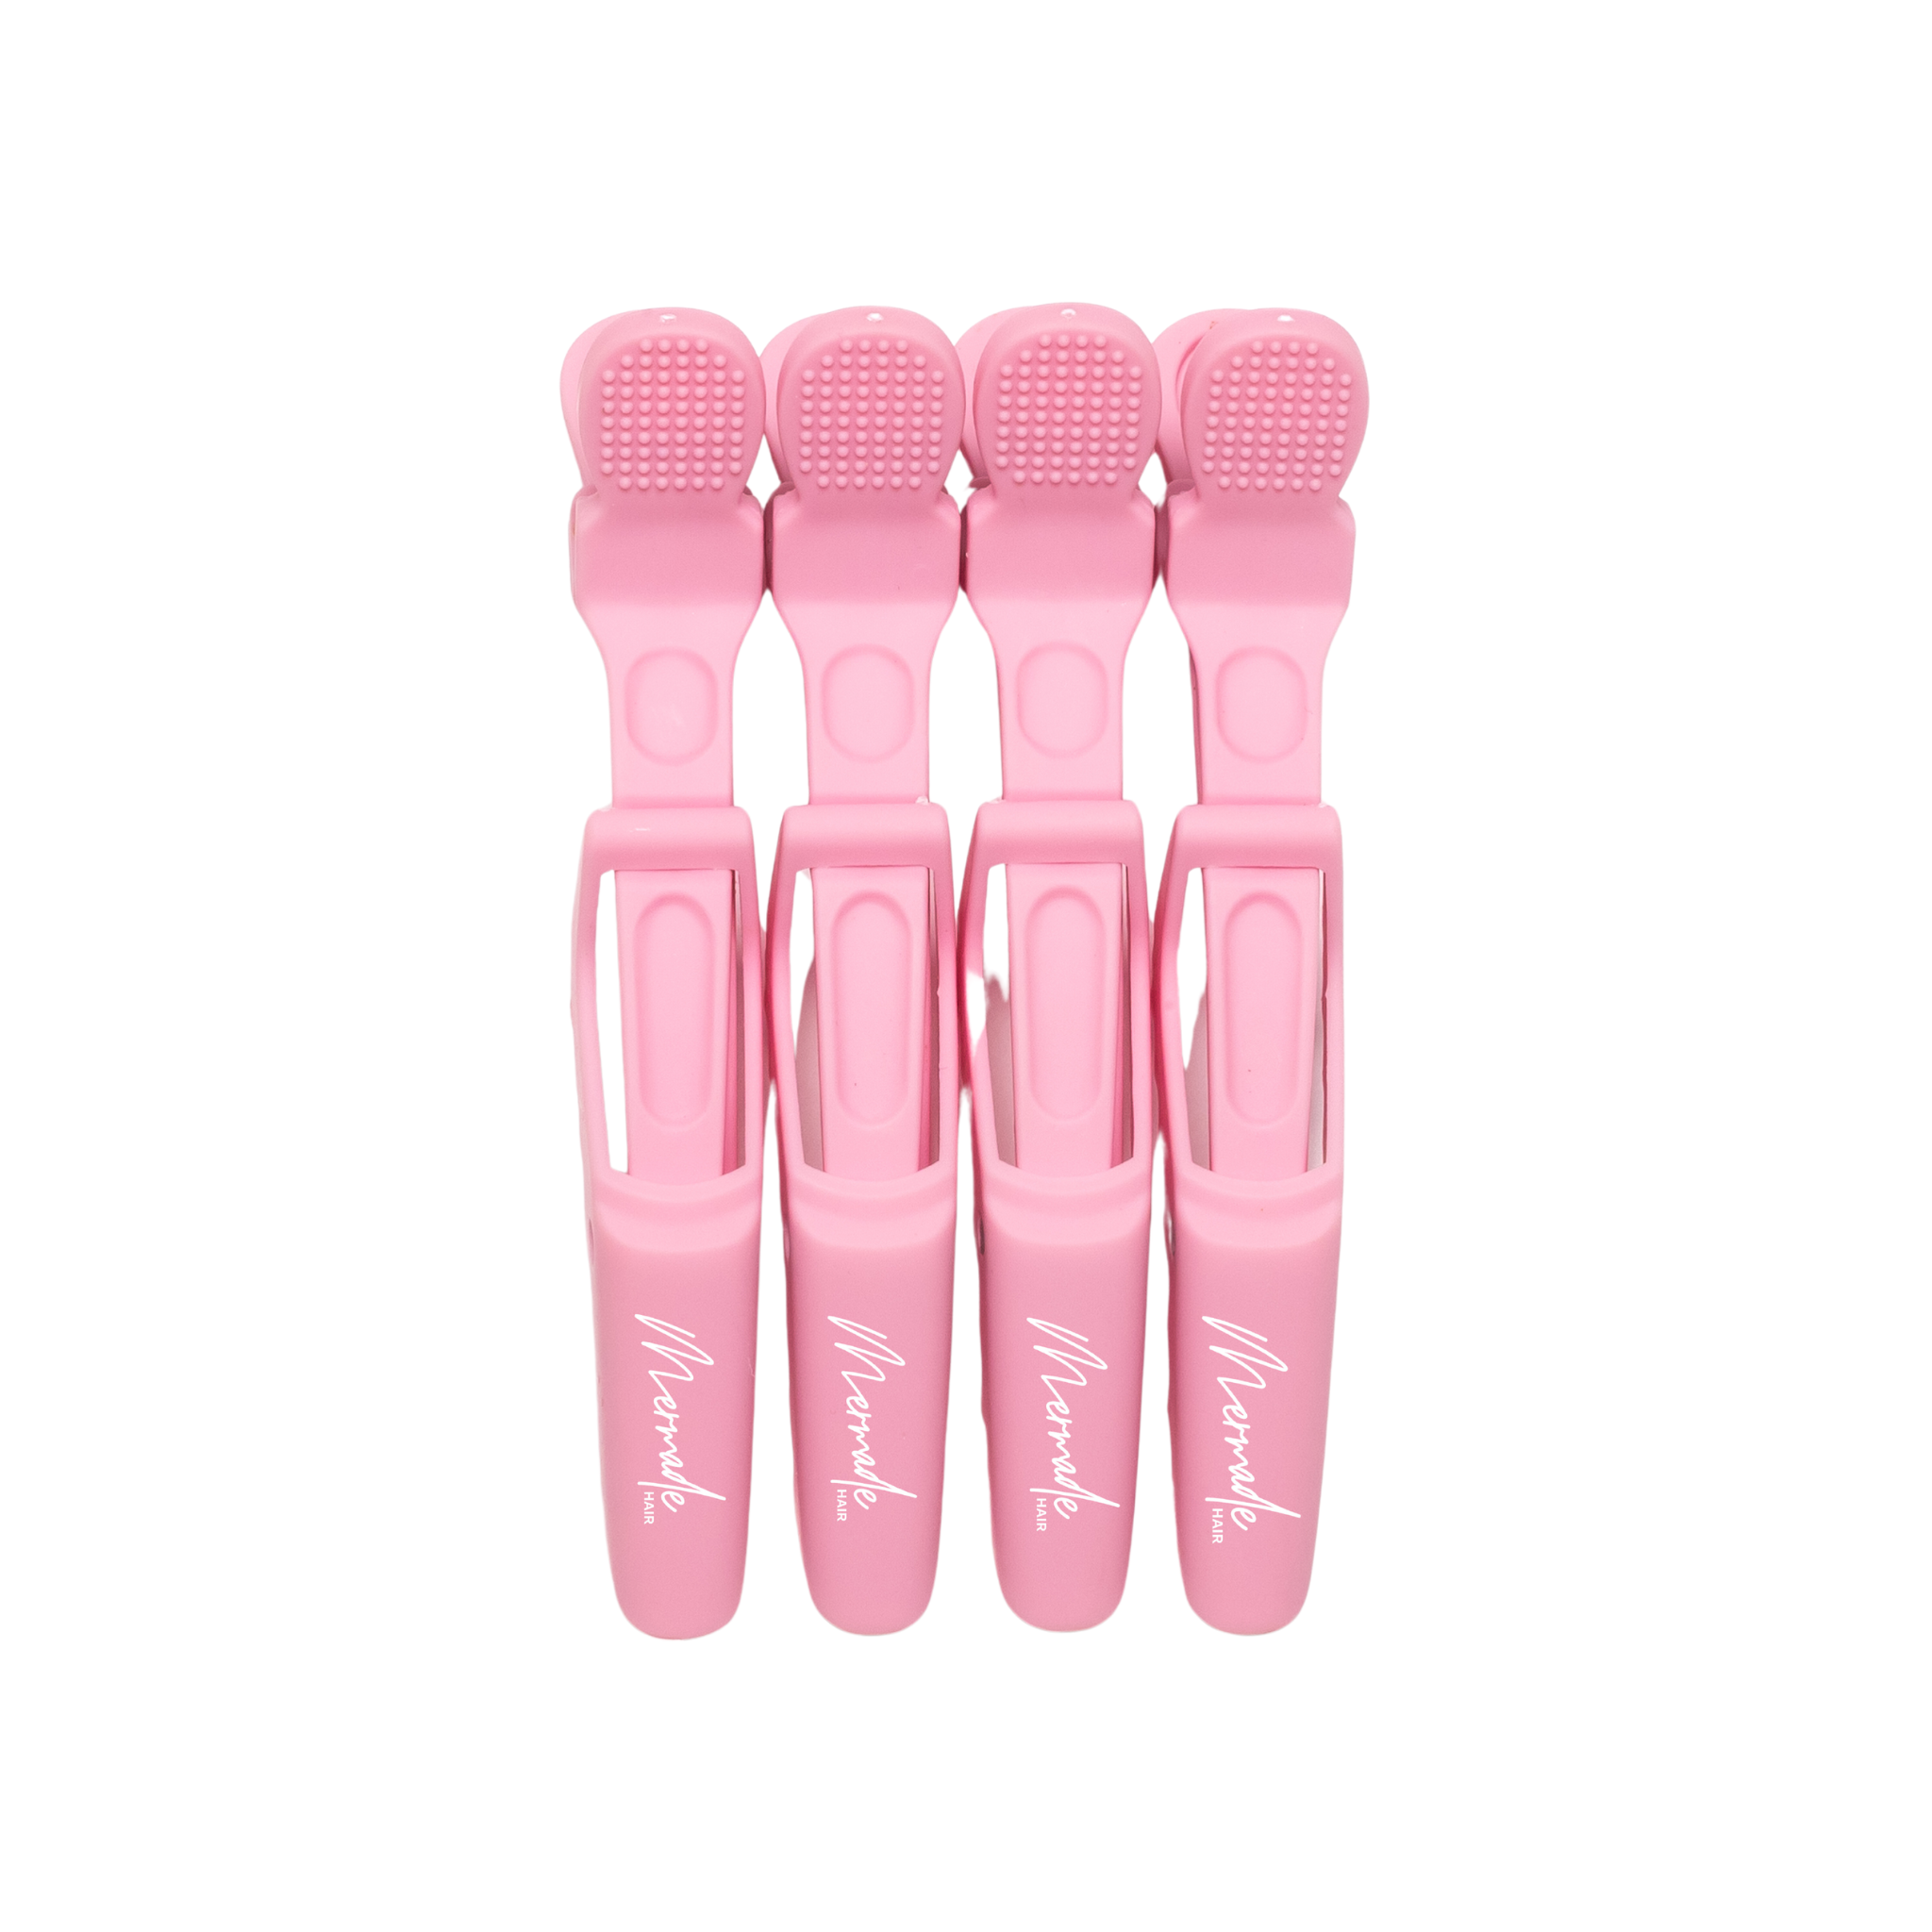
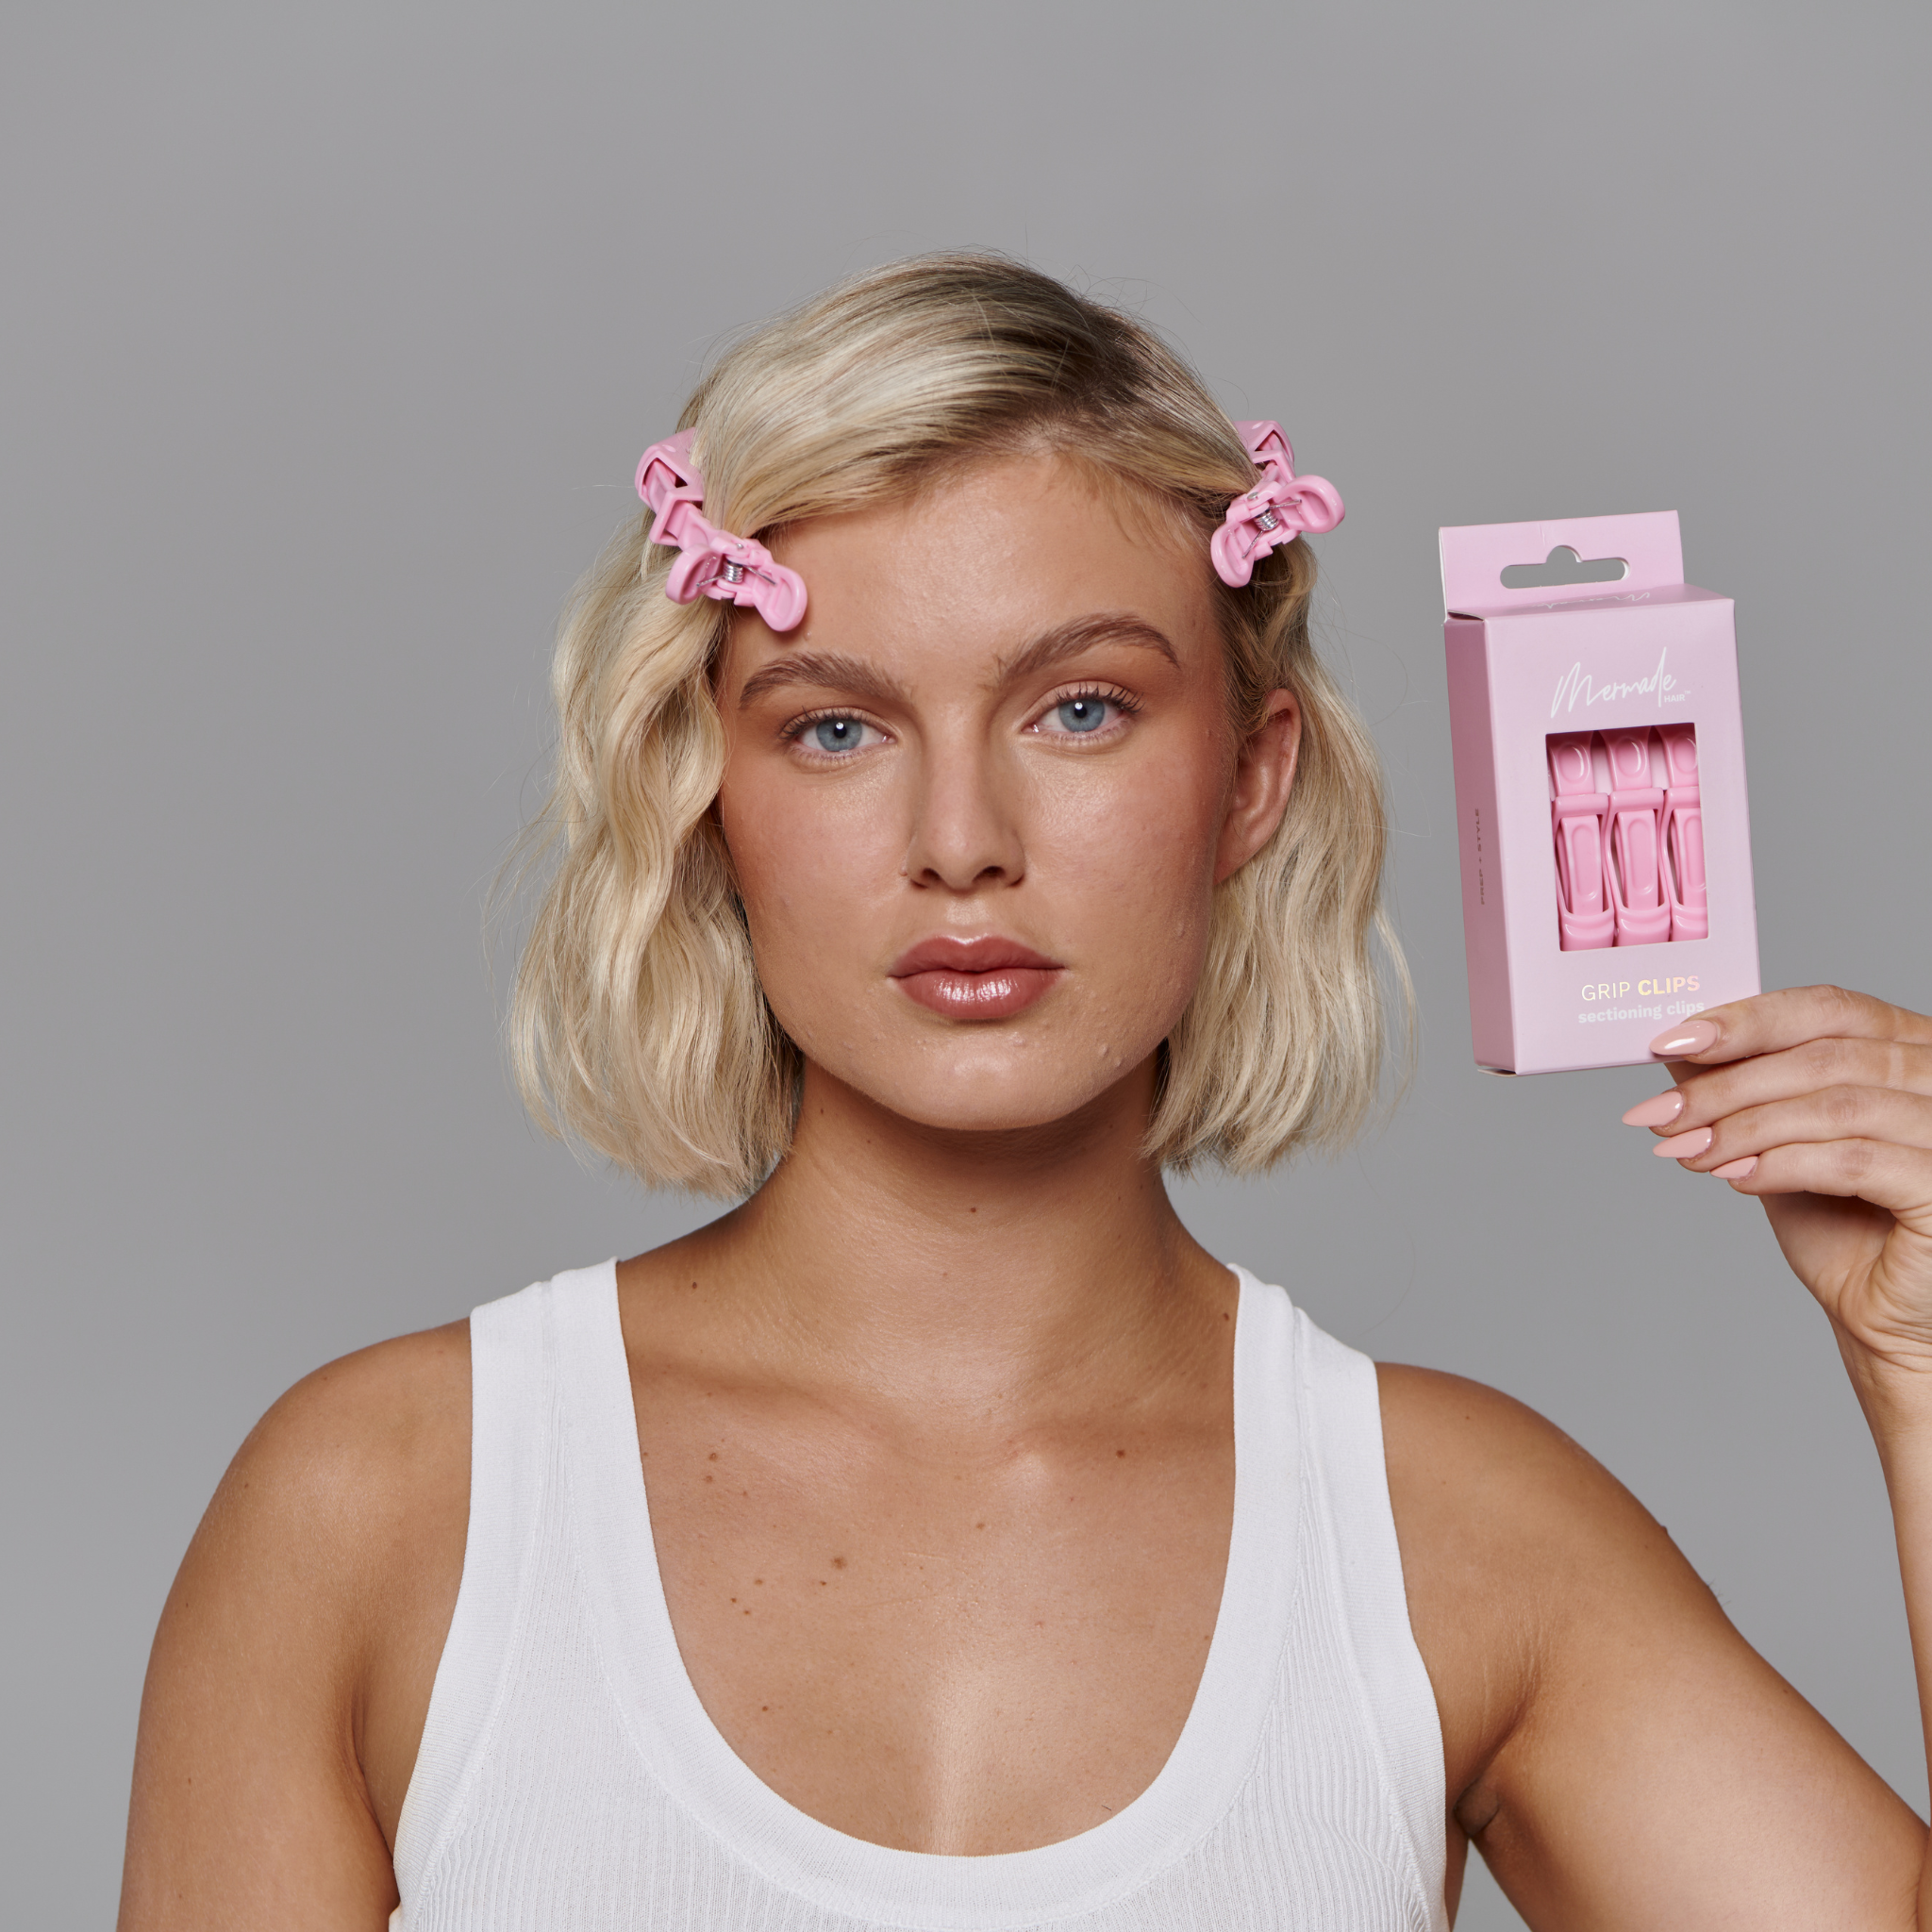
We recommend using our heat-protective glove, which comes with your Spin. To make the process easier, use Grip Clips to section your hair. Then, start by taking a small section and clamping the end of the hair. Press and hold down the ‘L’ or ‘R’ buttons to rotate the barrel left or right. As you approach your head/scalp, release the button to stop the rotating motion.

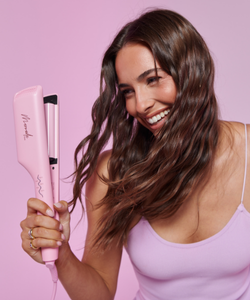
Curling Tip: Horizontal vs. Vertical Curling
- Holding the curler horizontally will create fuller, more voluminous curls.
- Holding the curler vertically will give you a looser, more relaxed wave.
For the right side of your hair, use the “L” button to curl away from your face. Similarly, for the left side, use the ‘R’ button to curl away from your face. This creates a uniform curl pattern that frames the face beautifully. If you prefer more beachy curls, alternate using the ‘L’ and ‘R’ buttons as you move around the head. This technique adds volume for that effortless, ‘undone’ look.
Alternatively, you can manually wrap your hair around the barrel like you would with a normal curling wand.
Hold each section for 3-10 seconds, depending on how defined you want your curls. Unwrap your hair and unclamp to release. Then, press the ‘SET’ button to return the barrel to its original position. Repeat for the rest of your hair.
Curling Tip: Smaller vs. Larger Sections
- Smaller sections create more defined, tighter curls that hold longer.
- Larger sections will give you softer, looser waves with a more effortless finish.

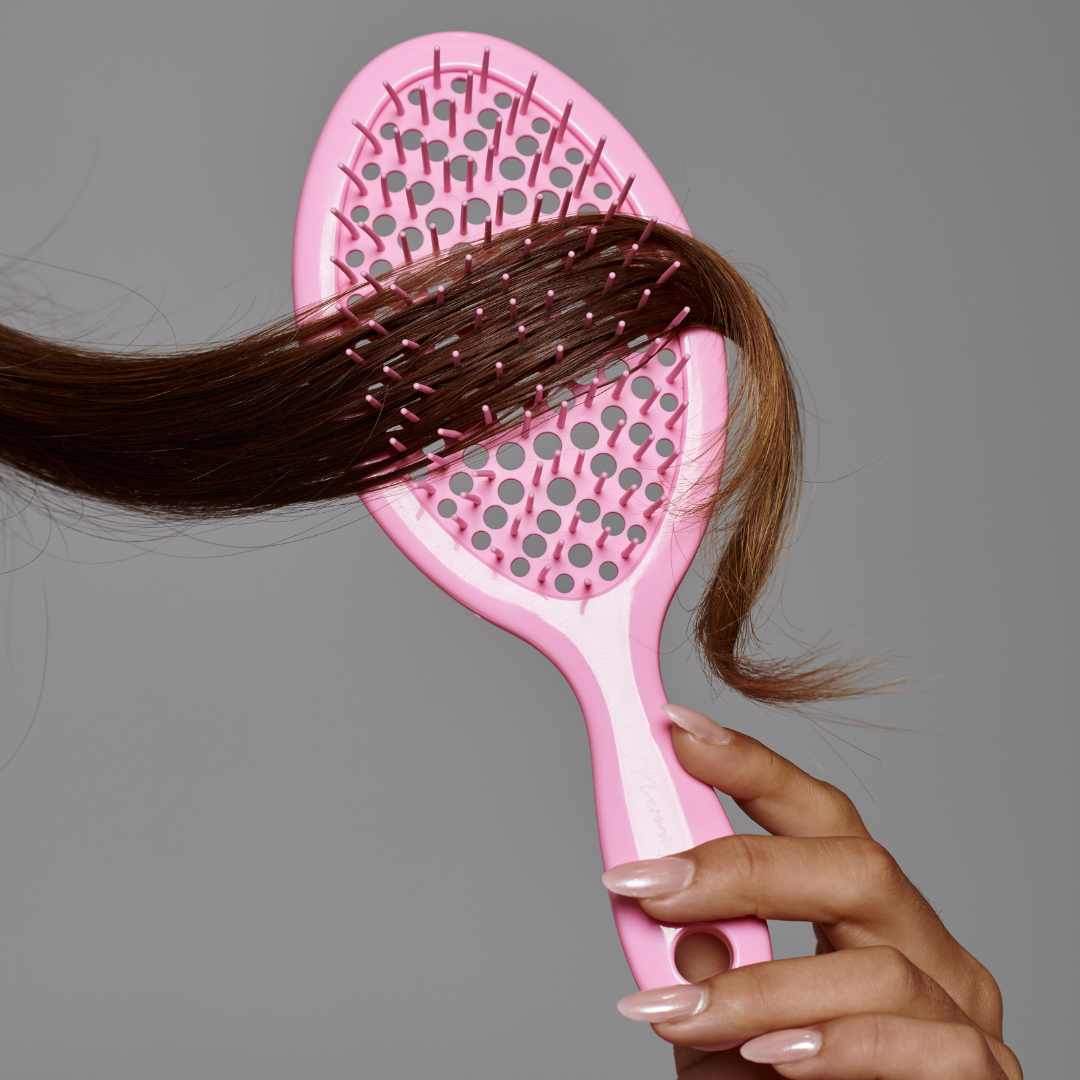
Step 4: Brush It Out
Once all of your hair is curled, turn off the curler and let your hair cool down completely. Then, go in with a brush or wide-tooth comb to gently brush out the curls. We recommend our Detangle Brush, which is perfect for softening and separating curls without losing definition.
Voila! Luscious and effortless curls, created by the touch of a button.

